
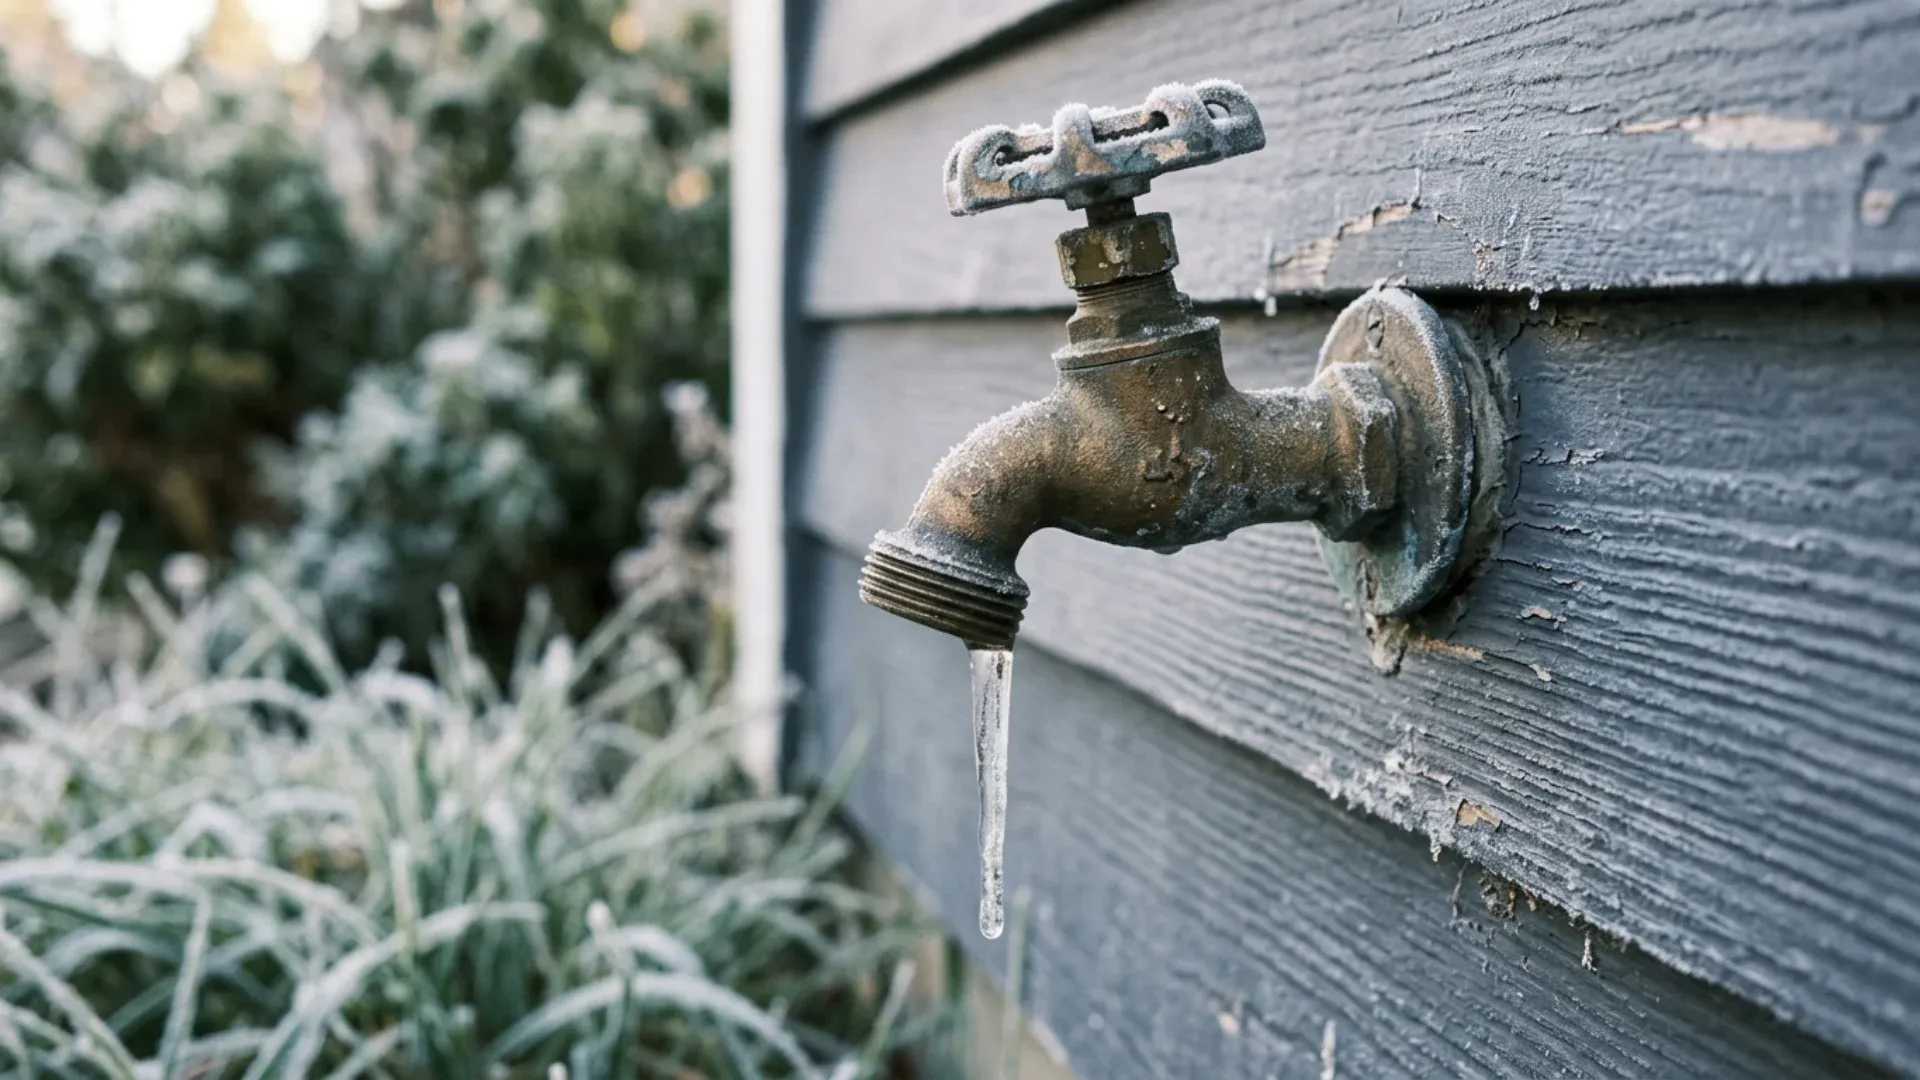
You will not find out your hose bib failed in December. You will find out in February, when things thaw and a damp patch shows up on the wall inside. That is the part nobody warns Redmond homeowners about. Outdoor faucets break quietly and send the bill later.
If you are trying to winterize outdoor plumbing before the first real cold snap, here is what actually matters, what is just internet advice, and how to tell which faucet you have.
How a Short Redmond Cold Snap Actually Breaks an Outdoor Hose Bib
Our winters are mild on average, which is exactly why this catches people. Averages are not what break pipes. Single nights do.
Why Quick Freezes Are Harder on Outdoor Plumbing Than a Steady Cold Winter
In a place with a genuinely cold winter, everyone is prepared. Outdoor lines get shut off in October and nobody thinks about them again until spring.
Redmond is different. We get long stretches in the forties, which feels harmless, and then a few nights where the temperature drops well below freezing for eight or ten hours. Homeowners are not in winter mode. Hoses are still connected from the last dry weekend. Covers are still in the garage.
There is a second factor working against us. Freezing and thawing repeatedly is more damaging than staying frozen. Each cycle expands the water, stresses the metal, and works at any weakness in the fitting. A bib can survive three cold snaps and split on the fourth, which is why "it has been fine for years" is not the reassurance it sounds like.
The Burst You Do Not See Until February: Split Pipe Inside the Wall
Here is the failure that causes real damage.
When water freezes inside the bib, the ice expands and splits the pipe. But the ice itself is plugging the hole, so nothing leaks. You see nothing. You suspect nothing. Then the weather warms, the plug melts, and now there is an open split in a pressurized line sitting inside your wall cavity or rim joist.
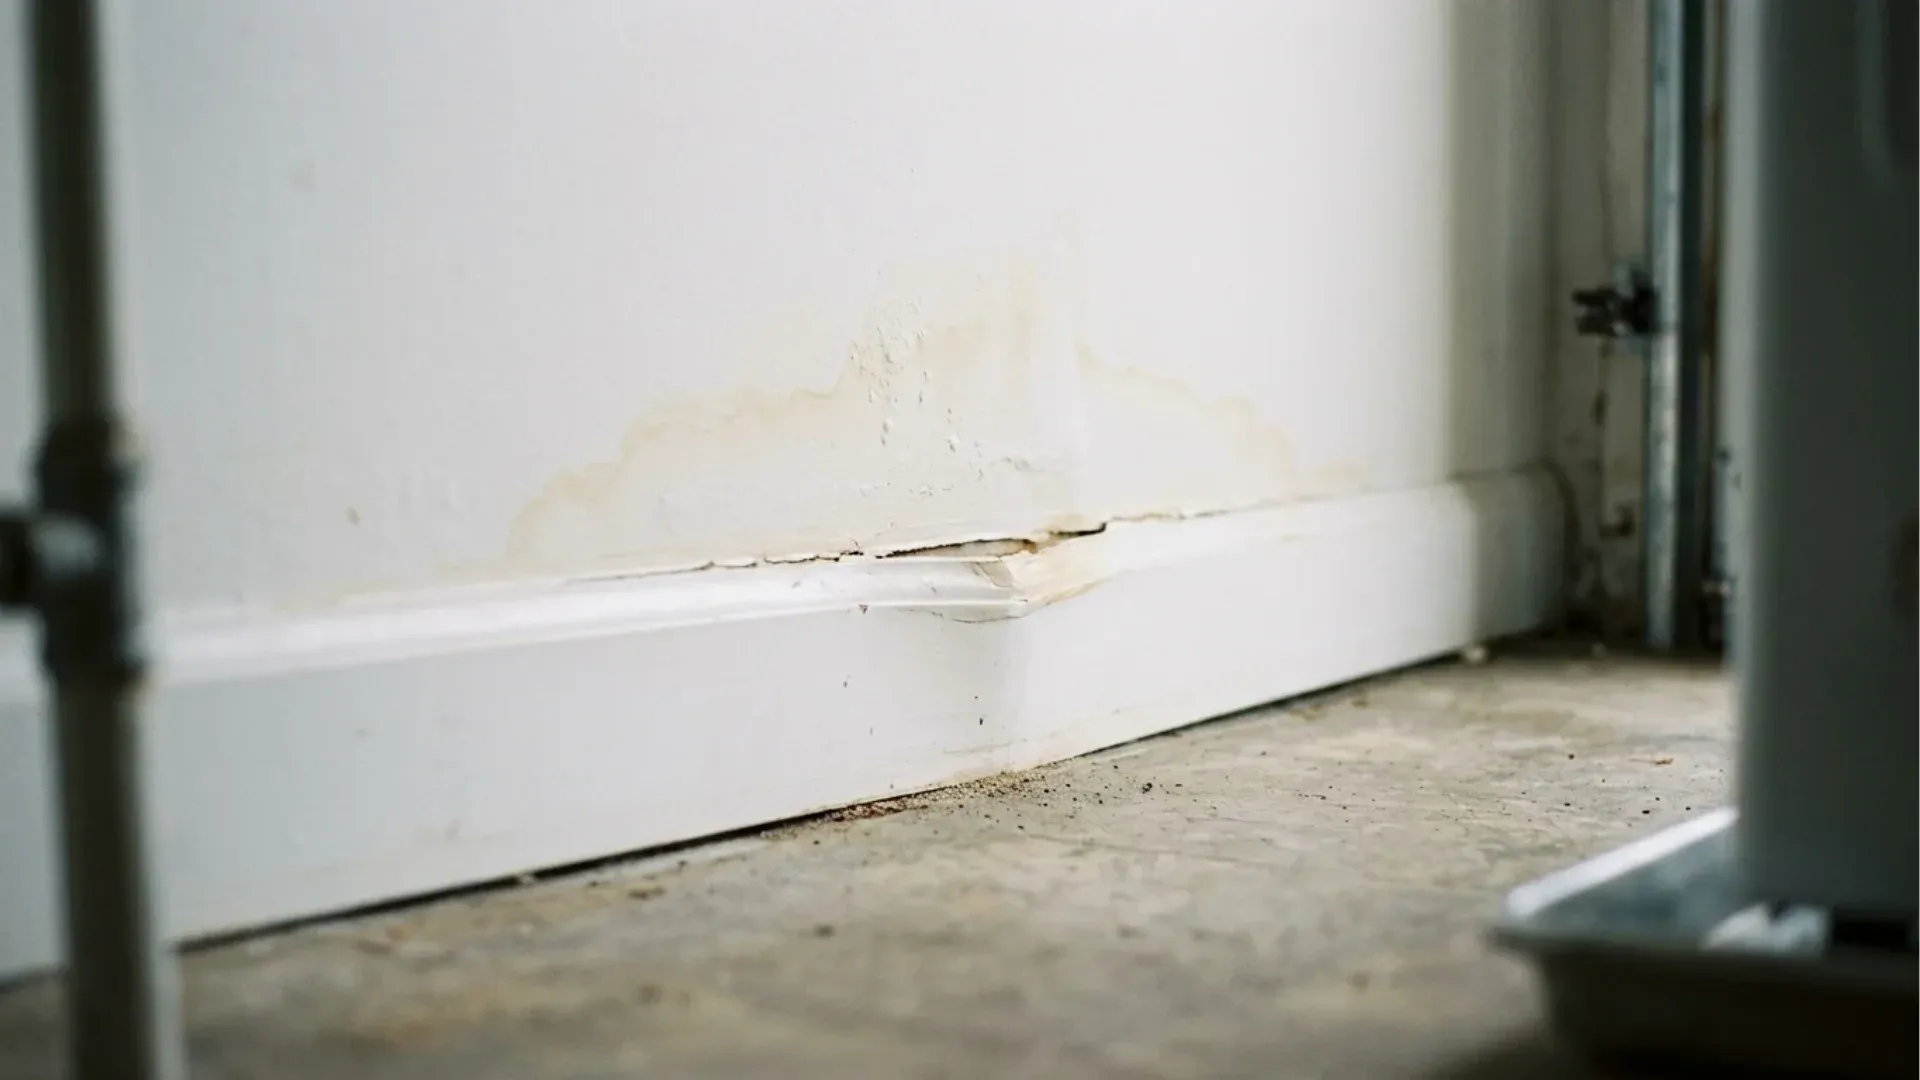
The next time someone turns that faucet on, water goes into the wall instead of out the spout. And because the split is often on the interior portion of the pipe, it can run for a long time behind drywall before anyone notices a stain, a musty smell, or a warped baseboard.
That delay is what turns a small repair into a claim involving insulation, framing, and finishes. If you have any suspicion at all, a professional leak detection visit is far cheaper than opening walls to guess.
Why a Frost-Free Hose Bib Still Freezes and Bursts (and How to Tell Which One You Have)
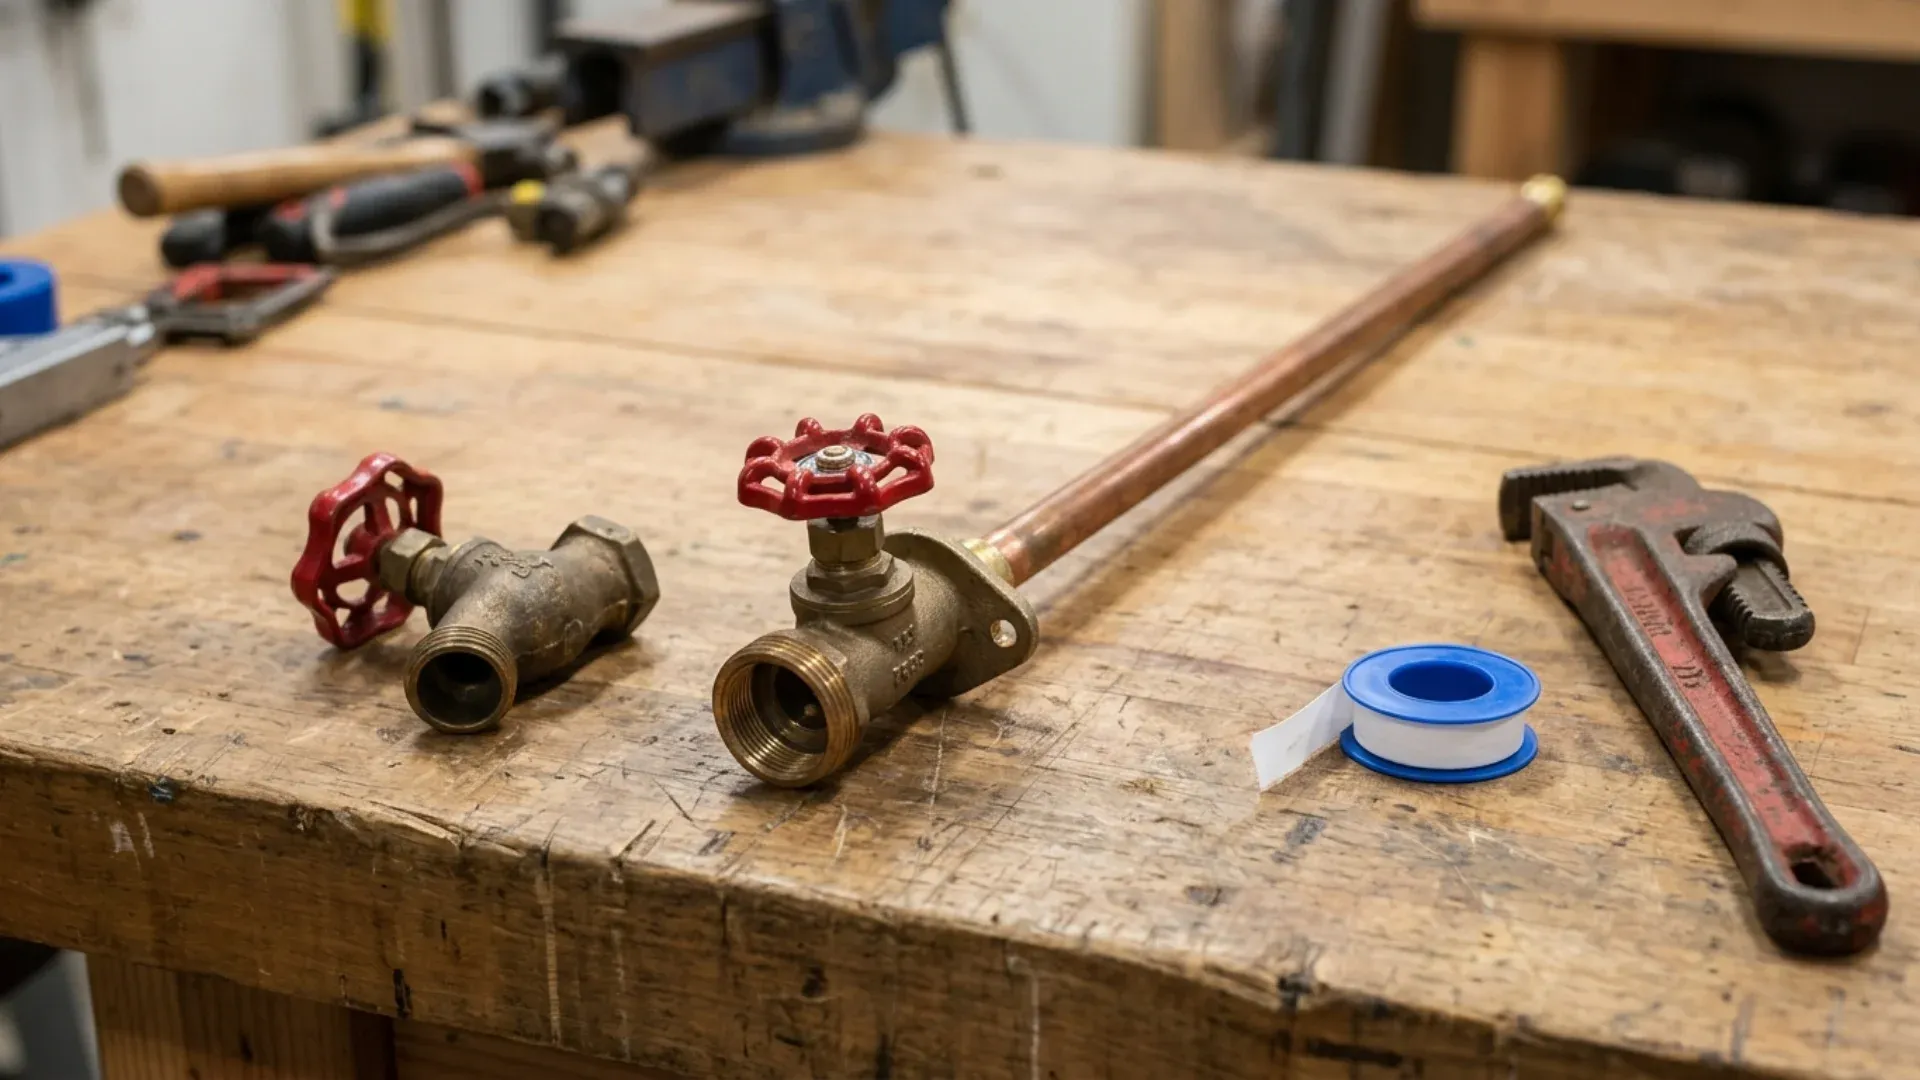
This is the misconception I run into most. People upgrade to frost-free, assume the problem is permanently solved, and then burst one anyway. The upgrade is genuinely good. It is just conditional.
How the Drain-Back Design Works, and the One Thing That Defeats It
A standard hose bib shuts the water off right at the handle, which means the water sitting in the exposed spout is outdoors, unprotected, and first to freeze.
A frost-free bib solves that with a long stem, typically 8 to 12 inches, that moves the actual shutoff seat deep inside the heated wall of your house. Turn the handle and the valve closes indoors where it is warm. The water left in the outdoor barrel then drains out through the spout by gravity, leaving an empty tube that cannot freeze because there is nothing in it.
That entire design depends on one thing. The barrel must be able to drain. Block the drain path and a frost-free bib is just a regular bib with a longer pipe, except now the split happens deeper inside your wall where it is harder to find and more expensive to reach.
Leaving a Hose Attached in November: The Most Common Cause of a Burst Frost-Free Bib
That is the one thing. A connected hose.
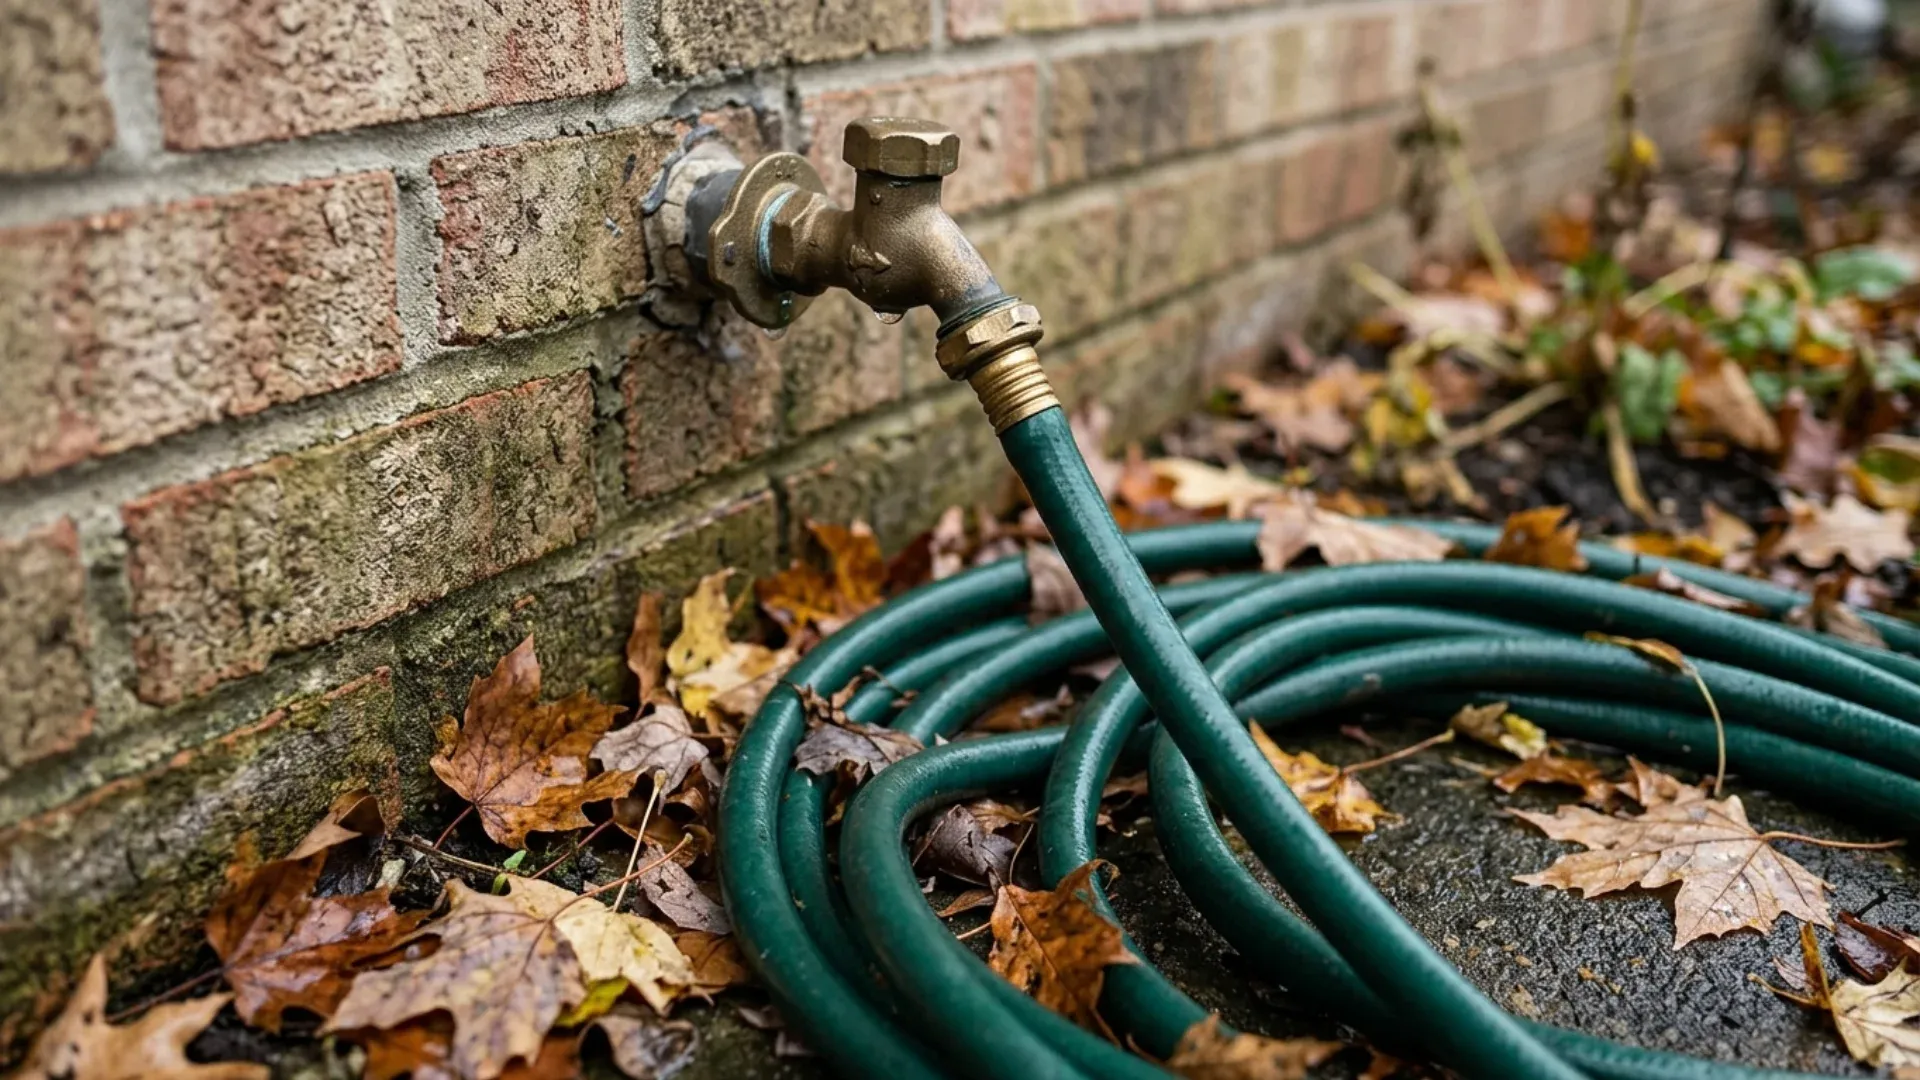
A hose attached to the spout seals the end of the barrel. The water that should have drained out stays trapped in the tube. It freezes, expands, and splits the pipe at a point that now sits inside your wall assembly.
It gets worse if the hose still has water in it, which it always does, because a full hose freezes into a solid plug against the fitting. So the advice you keep seeing to disconnect hoses before winter is not a nice tidying suggestion. For frost-free bibs specifically, it is the entire protection strategy. Disconnect every hose, drain them, and coil them somewhere out of the weather. Do it in October, not the night the forecast turns.
A Ten Second Check to Identify a Frost-Free Hose Bib on Your Redmond Home
Look at where the faucet meets the wall. A frost-free model usually has a slightly longer body with the handle sitting a bit further from the siding, and the handle is often a round wheel or a lever angled upward rather than a simple flat cross.
The more reliable test is behavior. Turn the water on, then off, and watch the spout. A frost-free bib keeps dribbling for several seconds afterward as the barrel empties itself. A standard bib stops almost immediately. That dribble is not a leak. That is the design doing its job, and it is the single clearest sign of which type you own.
Winterizing Outdoor Plumbing in Redmond Before the First Hard Freeze
Once you know what you have, the job is short. Most of this is a Saturday morning, not a project.
Finding the Interior Shutoff Valve for Your Outdoor Faucet
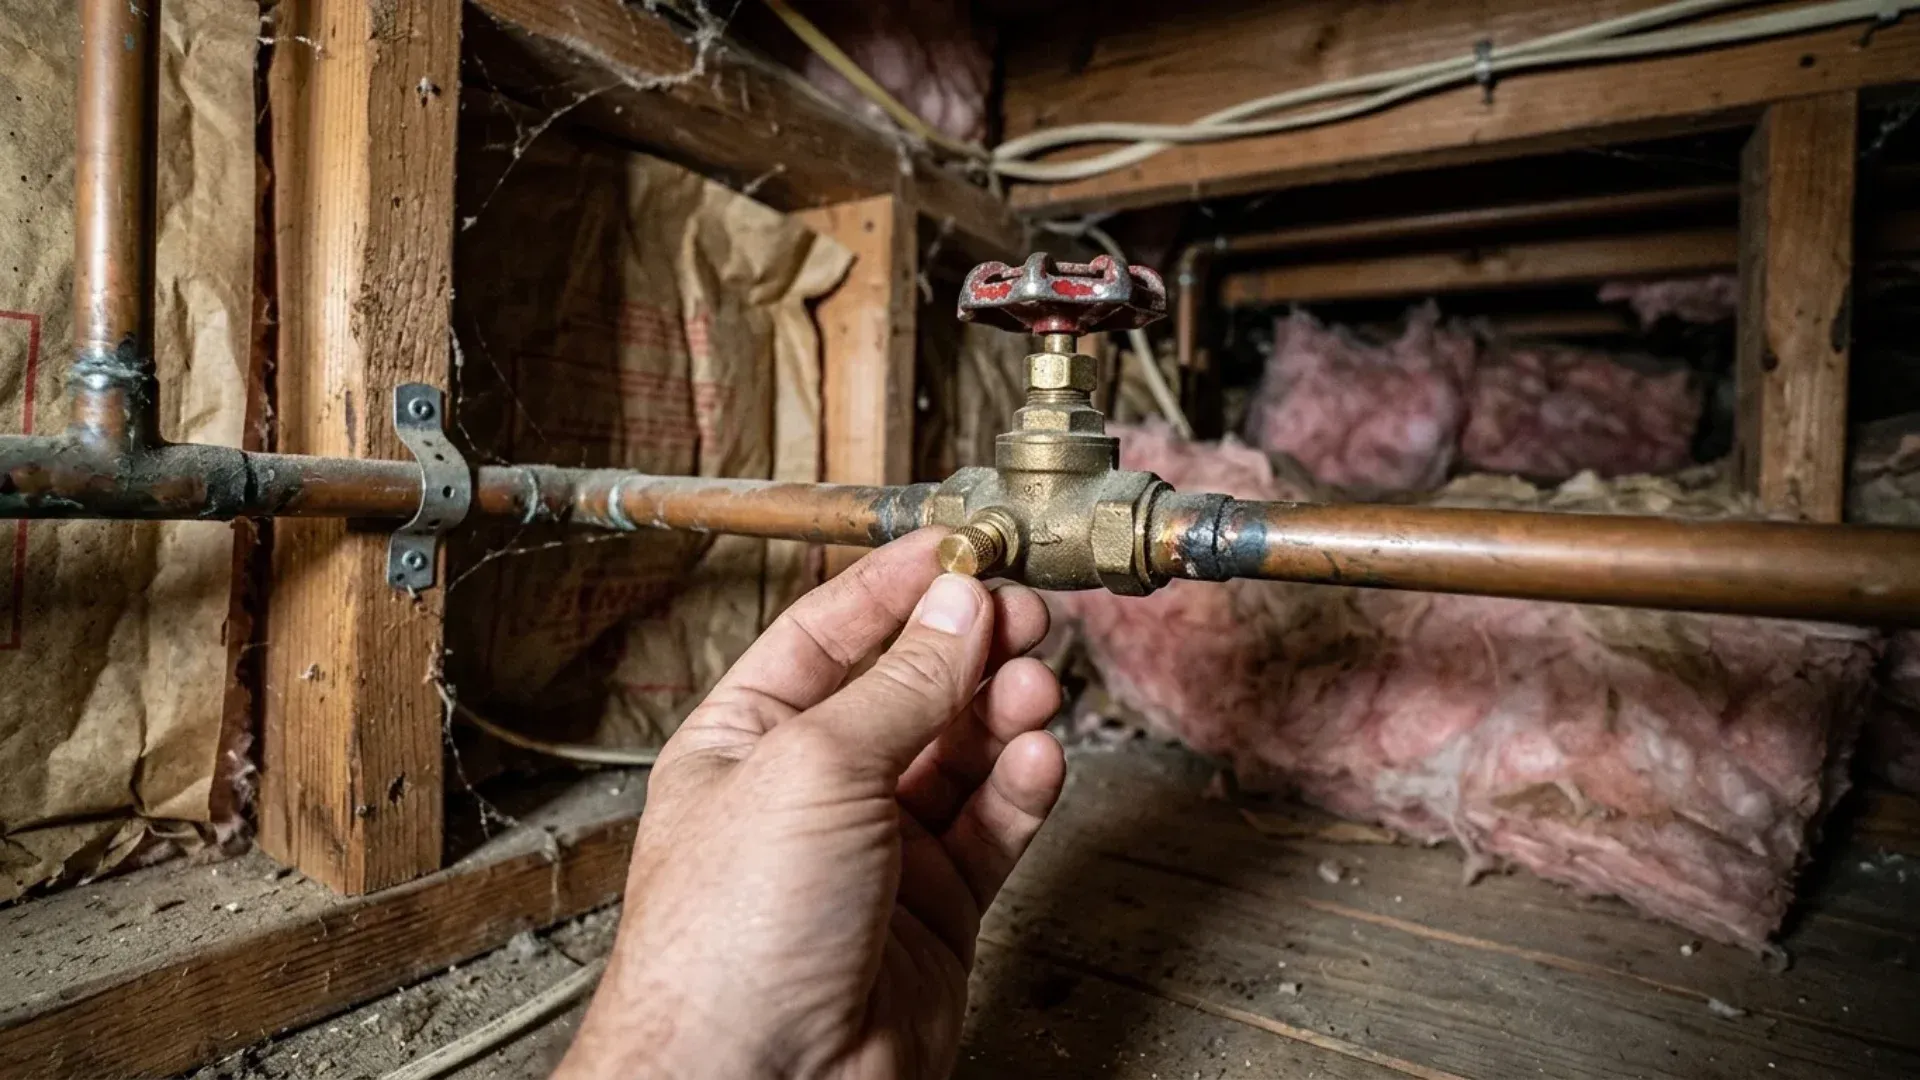
If you have standard bibs, you need the interior shutoff, and most homeowners cannot find it.
Start directly inside the wall from where the faucet sits outside. In Redmond homes that usually means a garage wall, a crawl space, a basement ceiling, or the back of a utility closet. You are looking for a small valve on the branch line feeding that faucet, sometimes with a little cap on the side.
That cap matters. It is a bleeder that lets you drain the remaining water out of the line after you close the valve. Shut the valve, go outside and open the faucet fully, then open the bleeder to let air in so the line empties completely. Leave the outdoor faucet open all winter. There is no reason to close it, and leaving it open gives any remaining water room to expand.
If you cannot locate the valve, that is worth solving now rather than during a cold snap. It is part of a standard outdoor plumbing service visit.
When an Insulated Faucet Cover Is Enough and When Replacement Is the Better Call
An insulated cover is a reasonable second layer. On a standard bib with the interior line already shut off and drained, it adds useful protection. On a frost-free bib with no hose attached, it is harmless and mostly unnecessary. What a cover cannot do is protect a bib that still has water trapped in it. It slows heat loss, it does not remove water.
Replacement makes more sense when the faucet drips constantly, when the handle has to be cranked hard to stop the flow, when the fitting wobbles in the siding, or when you have already repaired the same bib once. At that point converting to a properly installed frost-free unit removes the annual anxiety entirely. Where existing lines are corroded or previously repaired, a pipe repair assessment is worth doing at the same time so you are not solving half the problem.
Outdoor faucets are the least glamorous plumbing in your house and one of the most expensive things to ignore, because the damage arrives weeks after the mistake and lands inside your walls. The fix is genuinely simple. Disconnect your hoses now. Learn which type of bib you have by watching whether it dribbles after shutoff. Find your interior shutoff and bleeder before you need them. And if a faucet is already dripping or loose, replace it in October rather than discovering the split in February when there is drywall involved.
Not sure which faucets you have or where your shutoffs are? Schedule a free estimate for a winterization visit and we will walk the exterior with you, identify every bib, and handle any replacements before the first hard freeze.

 Your Privacy Choices