
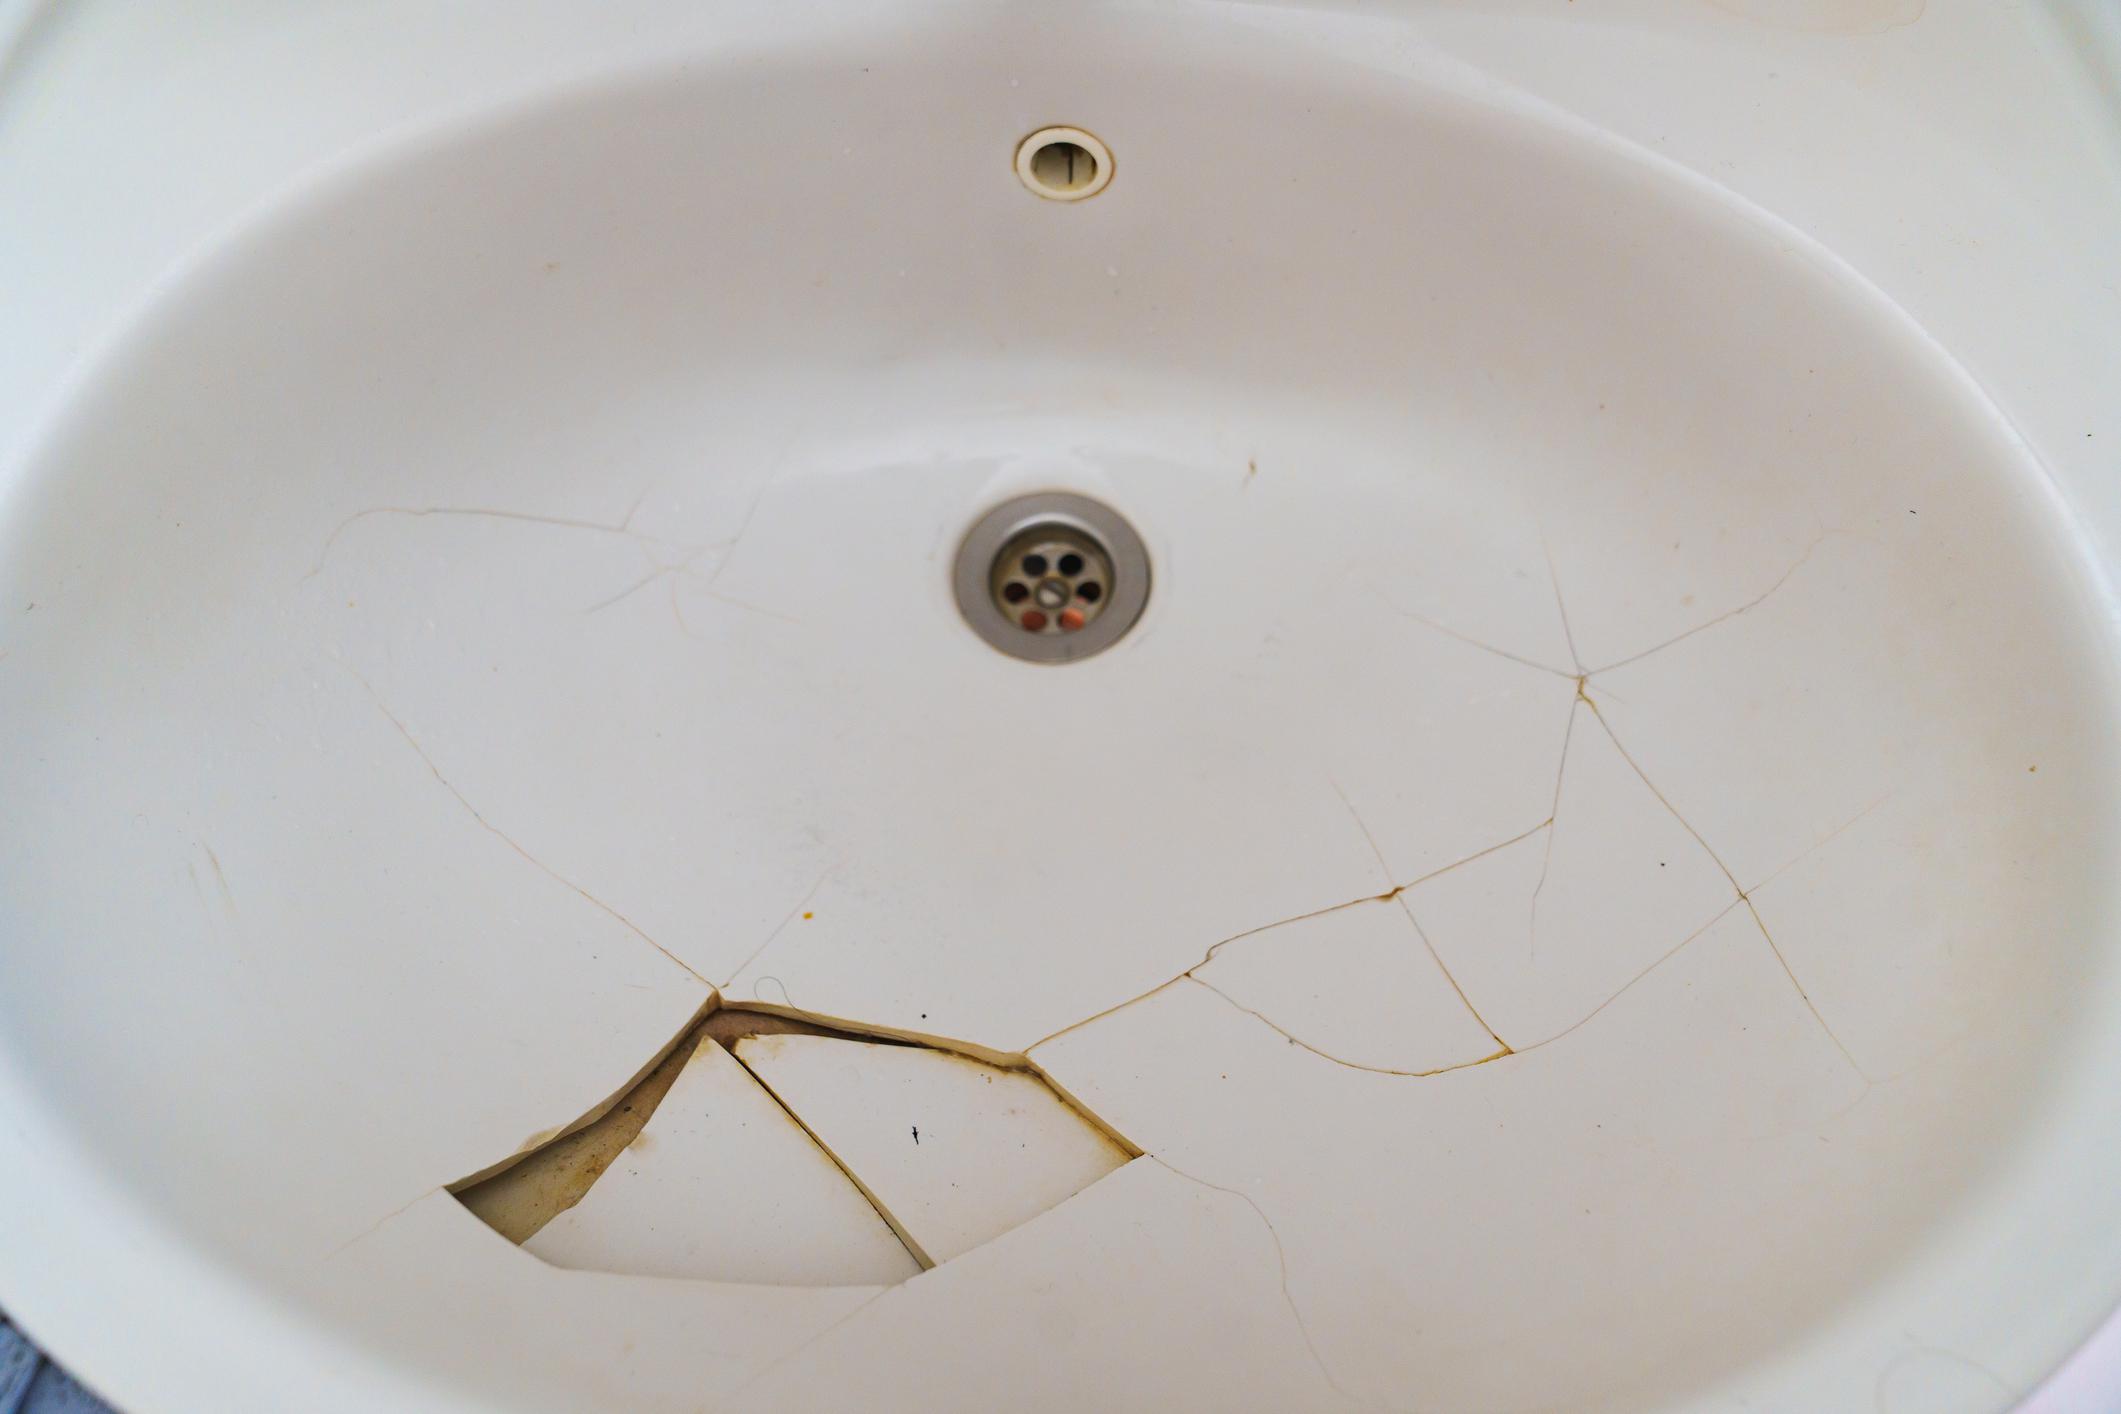
Porcelain and enamel sinks and bathtubs are some of the most resilient fixtures in the typical home, but they are not invincible. Drop a cast-iron skillet, a heavy shampoo bottle, or a wrench at the wrong angle, and you can chip the surface in an instant. The good news is that a chipped porcelain sink or bathtub does not mean a trip to the showroom. For most chips, a DIY repair is entirely achievable with an afternoon, a few dollars in materials, and a little patience.
This guide walks through how to assess the damage, choose the right repair approach, execute a clean fix, and decide when a professional replacement makes more sense. It applies to porcelain on cast iron, porcelain on steel, enamel-coated fixtures, and acrylic or fiberglass surfaces.
Why You Should Repair a Chip Promptly
A small chip might look like a purely cosmetic issue, but leaving it unrepaired creates real problems over time:
- Rust: When the chip exposes the underlying cast iron or steel, that metal begins to oxidize immediately on contact with water. Rust spreads beneath the enamel coating and can eventually compromise a much larger area than the original chip.
- Staining: The exposed substrate and any rough edges of a chip are highly porous compared to the smooth glaze surface. They trap minerals, soap residue, and discoloration quickly.
- Sharp Edges: A chipped sink edge or tub rim can be surprisingly sharp, creating a cut risk for anyone using the fixture.
- Worsening Damage: Porcelain and enamel can crack or flake further from the chip site under normal use if the repair is left too long.
Addressing a chip early keeps the repair simple. Chips left to rust or grow often require more extensive refinishing. Our water damage claims article is a reminder that small issues ignored tend to compound into much larger ones.
Step 1: Assess the Damage
Before buying materials, evaluate the size, depth, and location of the chip:
- Hairline chips and scratches (less than 2–3mm) are the easiest to repair and can typically be filled with a single-component touch-up glaze or porcelain paint in one application.
- Medium chips (up to about 1/2 inch wide) may require a two-part epoxy filler built up in layers before the color is applied.
- Deep gouges or large chips that expose significant bare metal beneath the enamel are more challenging. These need a filler product applied first, then epoxy, then a color coat. Results can be good, but achieving an invisible repair becomes harder as chip size increases.
- Cracks that run beyond the chip site may indicate a structural issue rather than just a surface chip. A cracked cast iron or acrylic substrate may warrant professional assessment before repair.
- Location matters. A chip on the flat interior floor of a sink is easier to repair cleanly than one on a curved rim edge, where the repair compound is more prone to running or uneven application.
For fixtures that also have sink repair or bathtub services needs beyond the chip, such as a dripping faucet, a slow drain, or a failing seal, it is worth addressing those at the same time.
Step 2: Gather Your Materials
What you will need:
- Porcelain or epoxy repair kit (see types below)
- Fine-grit sandpaper (220–400 grit)
- Clean cloth or paper towels
- Rubbing alcohol or acetone for cleaning
- Painter's tape (to protect the area around the chip)
- A small applicator brush or toothpick (often included in kits)
- Clear topcoat or enamel paint for color matching (optional)
Types of Repair Products
- Two-part epoxy kits are the most common hardware store option and work well for medium chips. They consist of two components that are mixed together and harden to a durable, paintable surface. Brands like Rust-Oleum Tub & Tile and similar products are widely available.
- Single-component porcelain touch-up glaze (such as Porc-A-Fix) is designed specifically for small chips and scratches in porcelain and enamel fixtures. It is a no-mix, brush-on product that comes in a wide range of manufacturer-matched colors. This is generally the best choice for small chips where color matching is critical.
- Fiberglass or acrylic repair kits are needed if your tub or shower is not porcelain but rather a molded acrylic or fiberglass unit. Epoxy designed for porcelain may not adhere well to these surfaces. Check your fixture type before purchasing.
For color-critical repairs, single-component touch-up products that are matched to specific fixture manufacturers tend to give the most seamless result. If your fixture is white, be aware that "white" varies significantly between manufacturers; what looks like a match in the store may read differently on your fixture. More on color matching below.
Our DIY plumbing tools guide covers the broader toolkit worth having on hand for bathroom projects like this one.
Step 3: Prepare the Surface
Proper preparation is the step most homeowners rush, and it determines whether the repair lasts or peels within months.
- Clean the area thoroughly. Wipe the chipped area and the surrounding surface with rubbing alcohol or acetone to remove any soap scum, oil, cleaning products, or residue. The repair compound will not bond to a dirty or greasy surface.
- Let it dry completely. This sounds obvious, but a surface that appears dry may still have moisture in the chip's edges. Give it at least 30 minutes after cleaning before proceeding, especially for deep chips.
- Sand lightly. Use 220–400 grit sandpaper to gently rough up the chipped area and the immediate surrounding glaze. This gives the repair compound a texture to grip. Do not oversand. You want light scuffing, not visible scratches in the surrounding glaze.
- Vacuum and wipe again. Remove all sanding dust with a dry cloth, then wipe once more with alcohol to ensure a clean surface.
- Tape around the chip. Use painter's tape to protect the surrounding surface and create a clean boundary for your repair. This is especially useful for larger chips or chips on curved surfaces.
Good surface prep is also relevant to adjacent tasks like grout repair. The same principle of clean, dry, scuffed surfaces applies across most bathroom surface repairs.
Step 4: Apply the Repair Compound
For Two-Part Epoxy
- Mix only a small batch at a time according to the package directions. Epoxy begins to cure immediately after mixing, and working time is limited.
- Apply the first thin layer using the included applicator, a fine artist's brush, or a toothpick. Work the compound into the chip rather than just covering the surface.
- Allow each layer to dry fully per the package instructions before applying the next. For deep chips, this means multiple thin passes, never one thick application.
- Build up layers until the repair is slightly proud of (raised above) the surrounding surface.
- After the final coat cures for at least 24 hours, use fine sandpaper (400–600 grit) to carefully sand the repair flush with the surrounding surface. Work slowly and check frequently.
For Single-Component Porcelain Touch-Up
- Shake the bottle for at least 30 seconds before opening.
- Apply thin layers with the included brush, allowing at least one hour between each coat.
- Most small chips require 3–5 coats to build up sufficient fill and opacity.
- Allow the final coat to cure undisturbed for 24 hours minimum.
Avoid using the fixture during the cure period. Moisture or physical contact with an uncured repair significantly reduces its durability. Wait at least a week before scrubbing the repaired area or using abrasive cleaners in that spot.
Our bathroom mold guide is worth reviewing if the chip has been sitting long enough for any discoloration or mildew to develop in the surrounding caulk or grout lines.
Step 5: Color Matching
Because most sinks and tubs are white, most repair kits are also white. But "white" is not universal. Fixture manufacturers each use slightly different shades. If color matching matters to you, here are your options:
- Identify your fixture manufacturer. Check underneath the sink or inside the toilet tank lid for a manufacturer name, model number, or color code. Many specialist porcelain repair suppliers can match to specific OEM colors with this information.
- Use manufacturer-specific touch-up products. Kohler, American Standard, Moen, and other major brands either produce their own touch-up paints or have approved color matches available through specialty suppliers.
- Bring the original chip. If the broken piece of porcelain is still intact, bring it to a paint store or tile supplier for color matching.
- Use paint sample cards. If you do not have the chip or manufacturer information, pick up several white paint sample strips at a hardware store and hold them against the fixture in natural light to find the closest match.
- Apply enamel paint as a topcoat. After the epoxy filler has fully hardened, a thin coat of enamel paint in a matched shade can bring the color significantly closer. This works best on flat surfaces where the paint can be applied evenly.
The same approach to color matching applies to grout cracking repairs. Matching an existing color is always easier when you have either the original material or the manufacturer's specifications on hand.
When to Replace Instead of Repair
A chip repair is the right call for isolated, manageable damage. But there are situations where replacement is the better investment:
- The chip is very large (more than a few inches) or accompanied by cracks that extend beyond the chip site
- Rust has spread significantly beneath the enamel, causing widespread discoloration
- The fixture has multiple chips, cracks, or refinishing failures across the surface
- The fixture is already refinished once and is showing widespread coating failure
- You are undertaking a broader bathroom renovation where sink or tub replacement fits naturally
Our sink repair and bathtub services pages cover professional options when a repair is not the right answer. And if the chip has coincided with a leaking pipes issue, a failing drain seal, or another plumbing concern in the same bathroom, it may be worth having a professional assess the full picture.
Our early warning signs article covers what to look for beyond the visible surface. Sometimes, a chipped fixture is the first thing a homeowner notices when there is a slow moisture problem developing behind or beneath the fixture.
With a little luck and careful technique, your repaired sink or tub will look great and hold up for years. And if the damage turns out to be more than a quick fix, our team is here to help.
Call us at (800) 259-7705 or book an appointment online. You can also find a location near you.
















 Your Privacy Choices