
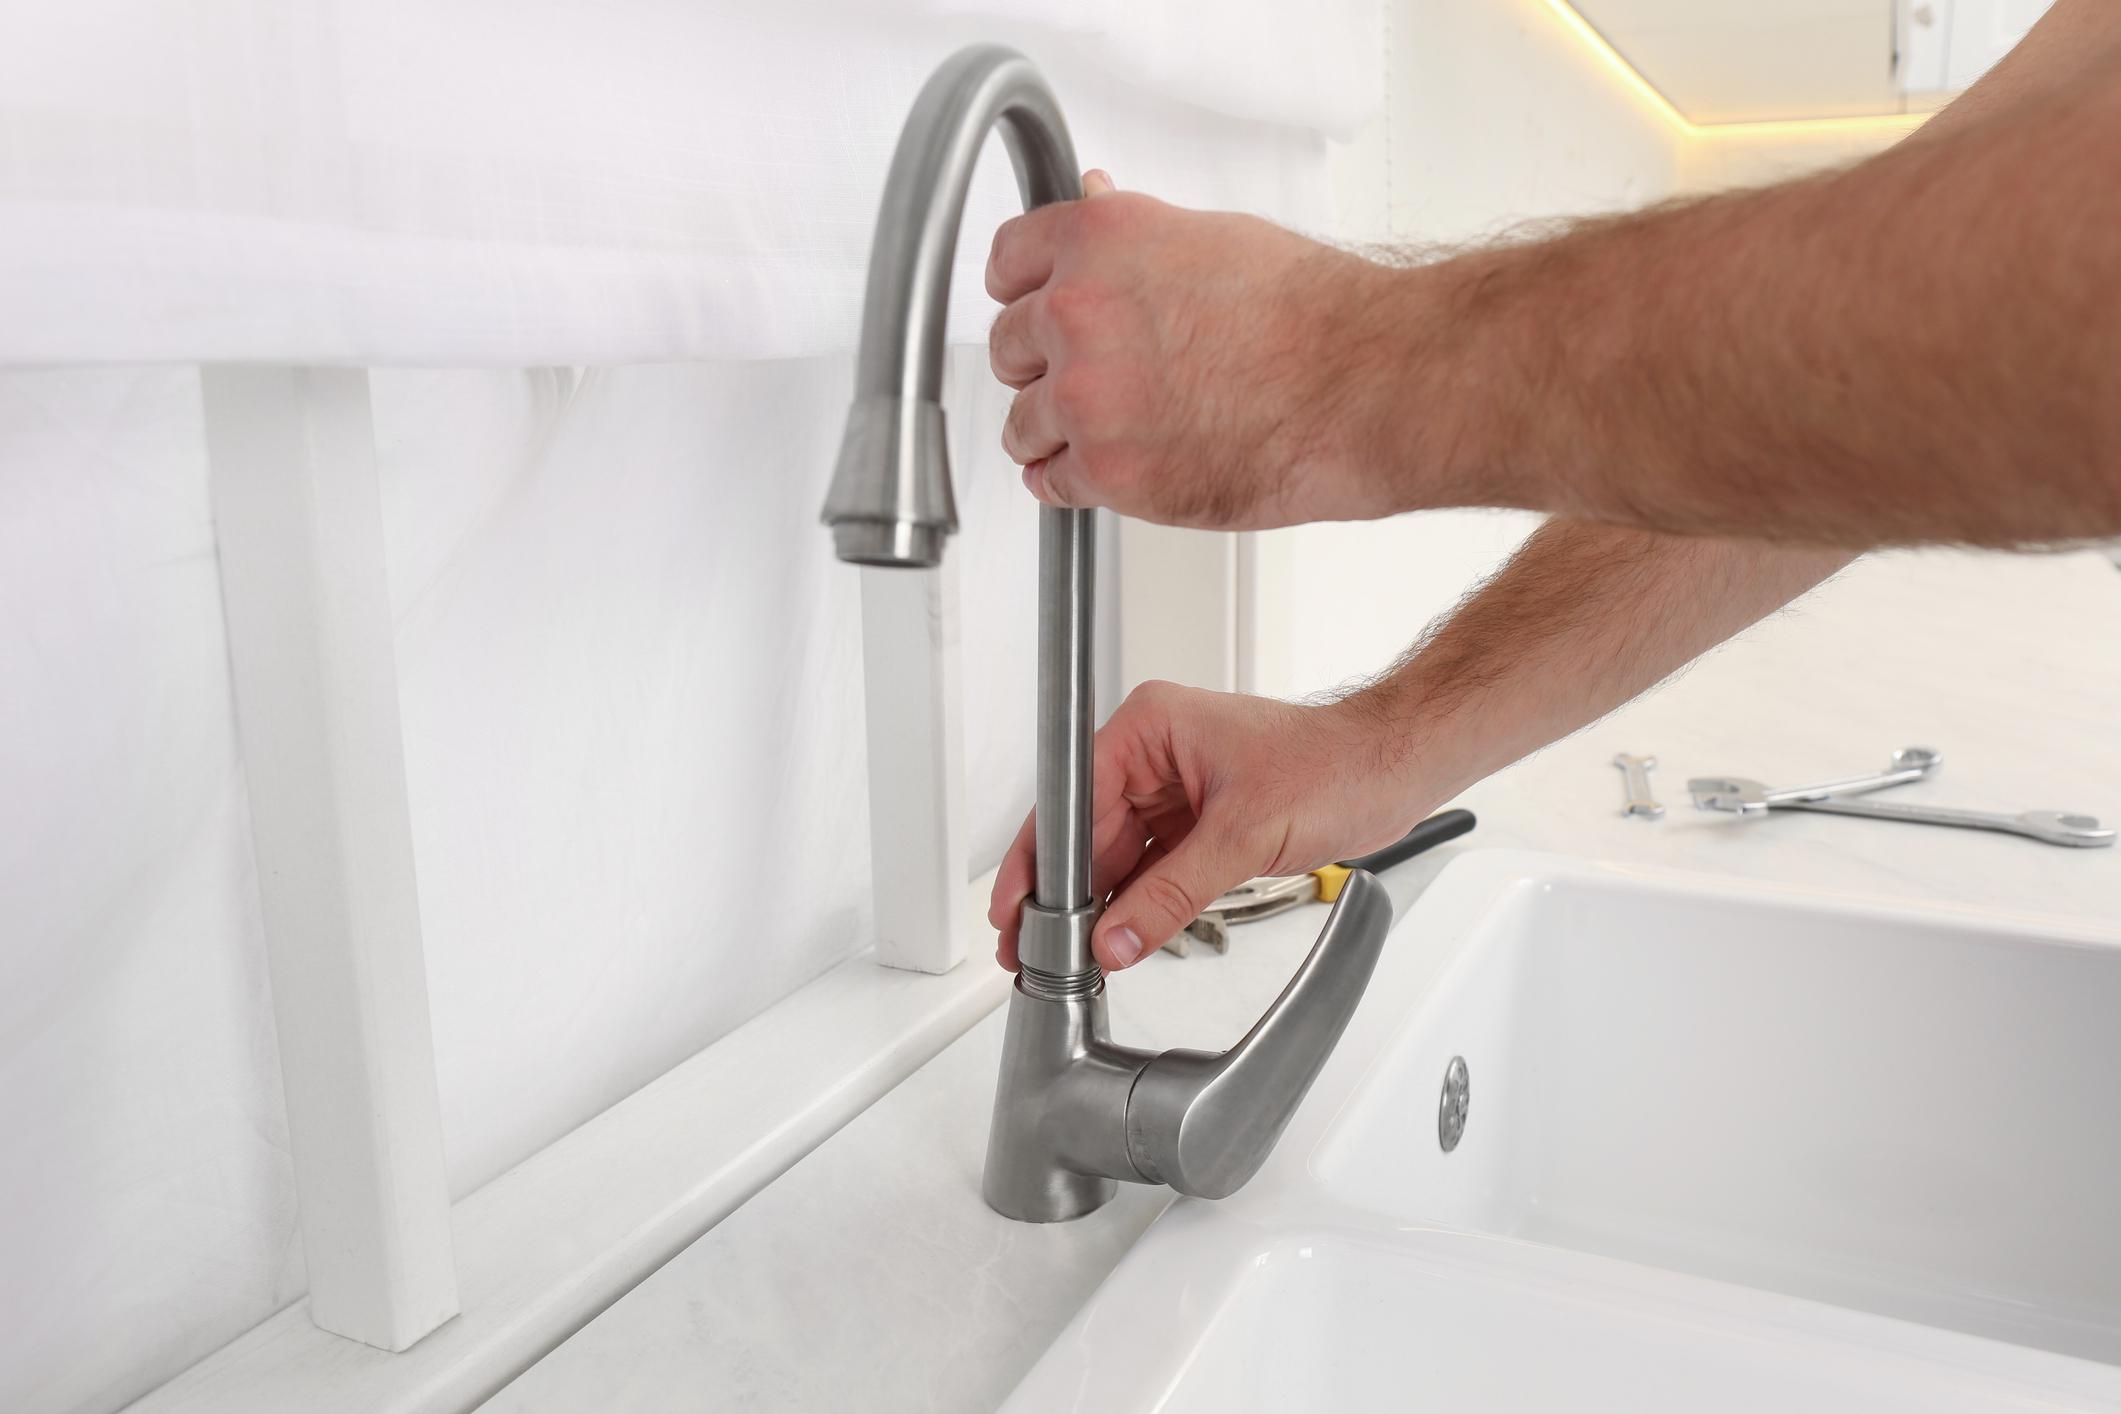
If your old kitchen or bathroom faucet is chronically leaky, or you just want to update its look, you can install a new model with a bit of effort and know-how. Read on for some tips on how to get your sink looking like new.
Keep in mind that specific steps may vary depending on the type of fixture you are replacing as well as the new model you've chosen. Always read the manufacturer's instructions for more exact directions tailored to your specific faucet. And if you feel uncertain at any point, there is no substitute for consulting a professional plumber.
Before You Buy: Choosing the Right Faucet
One of the most important steps in a faucet installation happens before you even open the box. Choosing a faucet that fits your existing sink is essential, and skipping this step is one of the most common DIY mistakes.
Start by checking both the number of mounting holes and the center-to-center spacing between them. Some holes may be hidden by the existing faucet or deck plate, so inspect the sink from below if needed. The hole pattern and spacing determine which faucet configurations will fit.
Here are the most common configurations:
- Single-hole faucets combine the spout and handle into one unit and require only one mounting hole. They're popular in both kitchens and bathrooms for their clean, modern look.
- Center-set faucets are designed for three-hole sinks with the outer holes spaced four inches apart from center to center. The spout and handles are typically mounted on one joined base.
- Widespread faucets have a separate spout and two independently mounted handles. They usually fit three-hole sinks with the outer holes spaced eight to sixteen inches apart, although exact requirements vary by model. These are common in bathroom vanities.
- Wall-mount faucets install directly into the wall above the sink, with the spout and handles protruding from the wall rather than the sink deck.
If your sink has extra holes left over from a previous multi-handle faucet but you're switching to a single-hole model, a deck plate can cover the unused holes and give the installation a clean, finished appearance. Many faucets include a deck plate in the box.
Also, check the spout height and reach before purchasing, particularly for kitchen sinks. A spout that is too short for a deep sink or that doesn't reach over a large basin will cause daily frustration.
Tools and Materials You Will Need
Gathering everything before you start will save you multiple trips under the sink. Here's what most faucet installations require:
- Adjustable wrench
- Basin wrench (especially useful for reaching nuts in tight spaces under deep sinks)
- Flathead and Phillips screwdrivers
- Needle-nose pliers
- Bucket and old towels
- Plumber's putty or silicone sealant, depending on your faucet's instructions
- Teflon tape
- Replacement supply lines, if not included with your faucet
- A flashlight or headlamp for visibility under the sink
- A utility knife or putty knife for cleaning old sealant
Step 1: Turn Off the Water
Unless you want to recreate Old Faithful in your bathroom, the first step before you even touch your faucet is to turn off the water. Most sinks have a shutoff valve on the supply pipe directly below them. Turn both the hot and cold valves clockwise until fully closed. If you cannot find individual shutoff valves under the sink, you will need to shut off the water to the whole house at the main supply valve.
Once the water is off, open the faucet and let it run until the water stops flowing completely. This relieves any remaining pressure in the lines and drains residual water, so you do not get soaked when disconnecting the supply lines. Place a bucket and towels under the sink before you begin disconnecting anything.
Step 2: Remove the Old Faucet
With the water off and the pressure relieved, you can begin removing the old faucet. Here is the sequence to follow:
- Disconnect the supply lines from the shutoff valves using an adjustable wrench. Have your bucket ready, as some residual water will drain out.
- For a bathroom faucet with a lift rod and pop-up drain, disconnect the lift rod from the drain-stopper linkage beneath the sink. Kitchen faucets and some bathroom models may not have this connection.
- Use a basin wrench to loosen and remove the mounting nuts that anchor the faucet to the underside of the sink. These nuts can be very tight, especially if the faucet has been in place for years.
- Once the nuts are off, lift the old faucet out from above and discard it.
After removing the old faucet, clean the area around the faucet holes thoroughly. Old plumber's putty, silicone residue, and mineral buildup often accumulate here. Use a putty knife to scrape away debris carefully, and wipe the surface with a damp cloth and mild cleaner. A clean, dry surface is essential for getting a proper watertight seal with the new faucet. If you notice that your shutoff valves are corroded, stiff, or leaking during this step, it is worth replacing them while you have access. Worn shutoff valves are a common source of leaking pipes and can cause problems down the road.
Step 3: Install the New Faucet
Now it is time to set your new faucet in place.
- If your new faucet uses a deck plate to cover multiple holes, position it first. Apply a thin bead of silicone caulk around the underside of the deck plate, or use the foam gasket included with some models, to create a watertight seal.
- If your faucet base sits directly on the sink without a deck plate, apply plumber's putty or silicone sealant around the underside of the base per the manufacturer's instructions. Some faucets include a rubber gasket that eliminates the need for putty altogether.
- Feed the faucet supply lines and any other connections through the mounting hole or holes. If you have a pull-down kitchen faucet, feed the spray hose through as well and attach the weight that helps retract it. Make sure the weight has enough clearance to hang freely.
- From below, thread on the mounting hardware (washers, nuts, or a mounting bracket, depending on your faucet) and tighten securely. For most faucets, this can be started by hand and finished with a basin wrench. Tighten the nuts firmly, but do not overtighten, as this can crack the sink deck.
- Screw the handles into place if they are not already attached.
Step 4: Reconnect the Drain and Supply Lines
All that is left is connecting the plumbing. Start with the lift rod. Screw the lift rod back into the drain stopper linkage the same way it came out, and check that it opens and closes the drain stopper smoothly. Adjust the clip on the pivot rod if needed.
Next, connect the hot and cold supply lines to the shutoff valves according to the faucet manufacturer's instructions. Thread-seal tape is generally used only on tapered pipe-thread connections that the instructions identify for sealing; do not add tape to compression fittings or gasketed connections unless the manufacturer specifically directs you to do so. Start each connection by hand to avoid cross-threading, then tighten only as instructed. Overtightening can damage fittings, gaskets, or supply lines.
Note that some faucets might require you to install a new drain as well, and this makes the job somewhat more complicated. If your new faucet comes with a matching drain assembly, follow the manufacturer's instructions for removing the old drain and installing the new one before connecting the supply lines. Other obstacles, like kitchen garbage disposals, can further complicate the process, particularly when working in tight spaces under the sink.
If your existing supply lines are old, brittle, or were connected directly to the old faucet and cannot be reused, replace them with new braided stainless steel supply lines. These are inexpensive, durable, and significantly more resistant to failure than older plastic or chrome lines.
Step 5: Test Your Work
To test your work, turn the water back on slowly by opening the shutoff valves counterclockwise while watching the connections for leaks. Then, if the manufacturer's instructions allow it, remove the aerator from the faucet spout and run both the hot and cold water until the flow is clear. Flushing without the aerator helps remove debris or pipe sediment loosened during installation before it can clog the aerator.
Once the water runs clean, reinstall the aerator and check above and below the sink for leaks. Wipe each connection dry, then inspect it again while the faucet is running and after it is turned off. If you find a leak, shut off the water before adjusting the connection. Verify that the fitting is correctly assembled and that its gasket or seal is seated properly, then retighten only according to the manufacturer's instructions. Do not rely on a fixed extra turn, because connection types and materials vary.
If you notice high water pressure after installation, or if the new faucet drips even when fully closed, those are signs of issues beyond the installation itself that are worth investigating.
When to Call a Professional
Remember, there is no shame in having a professional do the job for you. A faucet replacement sounds simple in theory, but you never know when complications like corroded shutoff valves, inaccessible mounting nuts, damaged sink decks, or non-standard plumbing configurations will derail your DIY plans. Trying to push through those situations without experience can turn a straightforward swap into a much bigger problem.
Call a licensed plumber if:
- The shutoff valves under the sink are corroded, stuck, or leaking.
- You discover damage to the supply lines or water lines inside the wall.
- The sink deck is cracked or damaged around the faucet holes.
- Your new faucet leaks after installation, and you cannot identify the source.
- You are installing a faucet in a location that requires new water lines or a sink installation alongside the fixture.
Also, keep in mind that if you notice signs of hidden plumbing leaks while working under the sink, such as water staining, soft cabinet floors, or mold growth, it is important to have a plumber assess the situation before completing the installation.
You can rely on your local Benjamin Franklin Plumbing to help with problems big or small. Our licensed plumbers can install your new faucet, drain, or garbage disposal and have you up and running in no time. If you'd prefer to skip the under-sink contortions entirely, our faucet installation services are fast, professional, and backed by our industry-leading guarantees.
Call us anytime at (888) 977-8450 or book an appointment online to get started.
















 Your Privacy Choices