When it comes to enhancing your home in Myrtle Beach, SC, a new faucet installation can make a significant difference. Not only does it elevate the aesthetics of your kitchen or bathroom, but it also ensures efficiency and water conservation. The key to a successful faucet installation lies in meticulous preparation, precise supply line connections, and expert sealing techniques. By focusing on these areas, homeowners can enjoy a seamless upgrade with no leaks or drips.
Starting with the prep steps is crucial for a smooth faucet installation process. Ensuring that the workspace is clean and accessible goes a long way in preventing any hiccups during the installation. It’s also important to have all the necessary tools and components on hand. This preparation minimizes the risk of delays, making the installation process in Conway, SC, and surrounding areas faster and more efficient.
Connecting the supply lines correctly is another vital step in the faucet installation journey. A secure and tight connection prevents potential leaks, which can cause water damage over time. Using the right sealing techniques, such as applying plumber’s tape or putty, further guarantees a watertight seal. These steps are essential for ensuring the longevity and performance of your new faucet.
Finally, post-install testing is the last but perhaps most crucial step in the faucet installation process. This involves checking for any leaks and ensuring that the faucet operates smoothly. It’s a simple yet effective way to verify that the installation has been successful, leaving homeowners in Myrtle Beach, SC, and beyond with peace of mind and a drip-free faucet.
Choosing the Right Faucet for Your Home
Before diving into the actual faucet installation, choosing the right faucet for your home is a crucial step. Different styles and functionalities can significantly impact your kitchen or bathroom’s overall look and efficiency. Whether you’re looking for a hands-free model or one with a pull-down sprayer, options are plentiful. Ensuring the faucet fits your space and meets your needs in Myrtle Beach, SC, sets the stage for a successful update.
Understanding the compatibility of the new faucet with your existing plumbing is essential. Faucets come in various configurations, such as single-hole, centerset, or widespread. Checking this match early prevents any surprises during the installation process. This foresight can save time and frustration, making the transition smoother for homeowners in Conway, SC.
Investing in quality tools and materials for the installation pays off in the long run. High-quality sealants and wrenches make the installation process not only easier but also more reliable. A good set of tools ensures that connections are secure and leaks are avoided. This preparation is key to achieving a professional-grade faucet installation without the need for costly do-overs.
Lastly, familiarizing yourself with the faucet’s specific installation instructions is vital. Manufacturers often provide valuable insights and tips that can simplify the installation process. Taking the time to read these guidelines thoroughly can prevent common mistakes. This step, though sometimes overlooked, is critical in ensuring a leak-free and efficient faucet installation in your home.
Tools and Materials Needed for Faucet Installation
For a successful faucet installation, having the right tools and materials on hand is crucial. This ensures that the process in Myrtle Beach, SC, goes smoothly from start to finish. Essential tools include a basin wrench for tightening or loosening nuts in hard-to-reach places and an adjustable wrench for various nuts and fittings. Additionally, plumber’s tape is indispensable for creating water-tight seals on threaded connections.
Materials play a key role in preventing leaks during and after the faucet installation. High-quality sealant or plumber’s putty is necessary to seal gaps between the faucet and sink surface, ensuring no water seeps through. Supply lines of the correct length and diameter are also vital to connect the faucet to the water supply without any strain or stress. These materials, when chosen carefully, contribute to the longevity and reliability of your new faucet.
Preparation extends beyond gathering tools and materials, it includes setting up a workspace that facilitates an efficient installation process. Clearing the area under the sink and having a small bucket or towel ready can help manage any water that drips when disconnecting the old faucet. This preparedness is especially helpful in homes in Conway, SC, where space under sinks may be limited. Such organization minimizes disruptions and speeds up the installation process.
Finally, understanding how to use these tools and materials effectively can make a significant difference in the outcome of your faucet installation. Reading the manufacturer’s instructions before beginning the installation can provide specific guidance on tool and material use. For instance, knowing when to use plumber’s tape versus sealant can prevent future leaks. This knowledge, combined with the right tools and materials, ensures a smooth, leak-free faucet installation.
Preparing Your Sink Area for Installation
Before you begin the faucet installation, it’s crucial to prepare your sink area properly. Start by turning off the water supply to prevent any unexpected spills or leaks. This step is essential in homes in Myrtle Beach, SC, where water pressure can be high. Next, clean the sink and the area around it thoroughly. Removing any debris or old sealant ensures a clean surface for the new faucet.
Once the area is prepped, it’s time to remove the old faucet. Using a basin wrench, carefully disconnect the water supply lines. In Conway, SC, hard water can sometimes cause fittings to become tight, so patience is key. Place a bucket or towel underneath to catch any residual water that may drip out. This proactive approach keeps the work area dry and safe.
With the old faucet out of the way, check the sink’s surface for any damage or irregularities. If necessary, apply a small amount of sealant or putty to ensure a smooth, flat surface for the new faucet. This step is particularly important in older homes where surfaces may have worn down over time. A good seal is critical for preventing leaks around the base of the faucet.
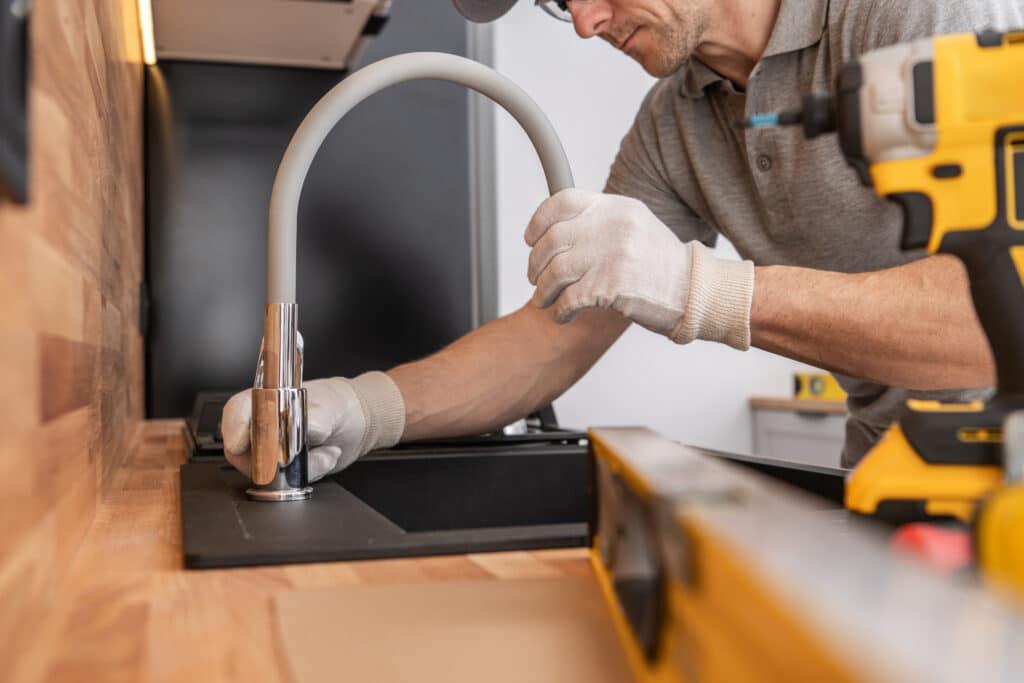
Finally, position the new faucet in place, aligning it carefully with the sink’s holes. Secure it firmly, using the manufacturer’s provided hardware. Reconnect the water supply lines, ensuring they are tight but not over-tightened, as this could damage the threads. Once everything is in place, slowly turn the water supply back on and check for any leaks. This careful attention to detail guarantees a successful faucet installation, leaving you with a functional and leak-free faucet in your home.
Step-by-Step Guide to Faucet Installation
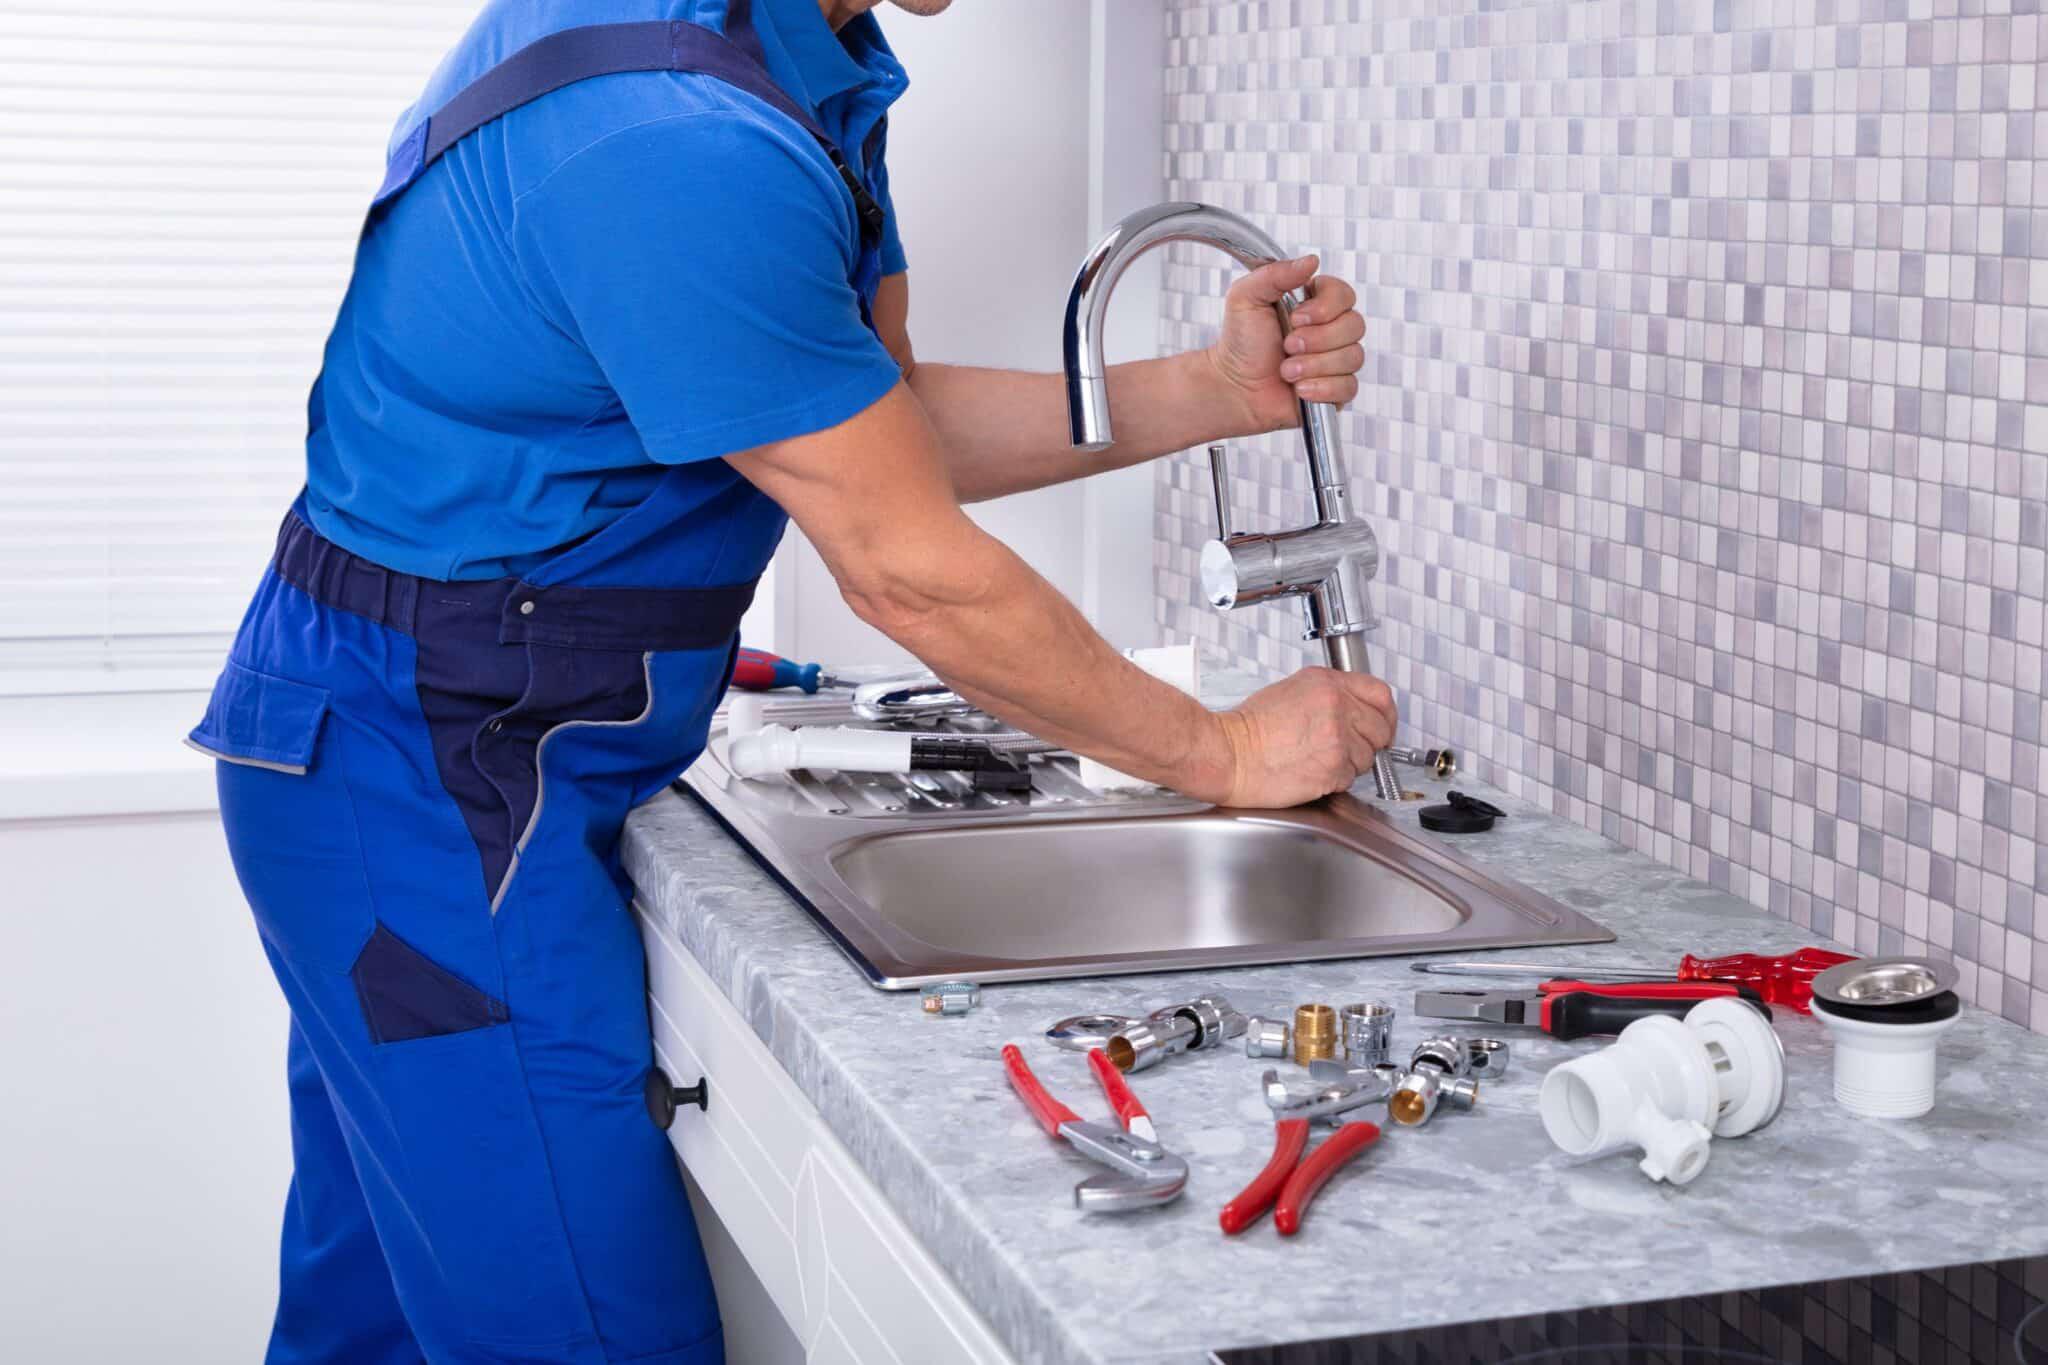
After ensuring your sink area is ready and the old faucet is removed, it’s time to focus on the actual faucet installation. Begin by carefully placing the new faucet into the designated holes on your sink. This step requires precision to make sure everything lines up correctly for a seamless fit. Once in place, secure the faucet from underneath using the nuts and washers provided, making sure they’re tight enough to hold the faucet firmly but not so tight that they damage the sink or faucet.
Next, connect the water supply lines to the faucet, paying close attention to the hot and cold markers to avoid confusion later. These lines should be threaded by hand at first to ensure they’re aligned properly before tightening them with a wrench. It’s crucial not to cross-thread or over-tighten these connections, as doing so can lead to leaks or damage to the supply lines. A snug, secure fit will ensure a reliable connection without any drips.
Applying plumber’s tape or sealant to the threads of your water supply lines can further prevent leaks. This step, often overlooked, is vital for creating a watertight seal that will stand the test of time. Wrap the tape around the threads in a clockwise direction, which will help it stay in place as you tighten the connections. This simple but effective technique can save you from future headaches by ensuring a leak-free installation from the start.
Finally, with everything connected and secured, turn the water supply back on and observe the faucet for any signs of leaks. Do this slowly to avoid any sudden pressure that could dislodge or damage the new installation. Check all connections thoroughly, using a dry paper towel to feel for any moisture. If everything is dry, test the faucet’s functionality, making sure the hot and cold water flows correctly and there are no drips. This last step confirms your faucet installation is successful, leaving you with a fully functional and leak-free faucet in your home.
Connecting Supply Lines Without Leaks
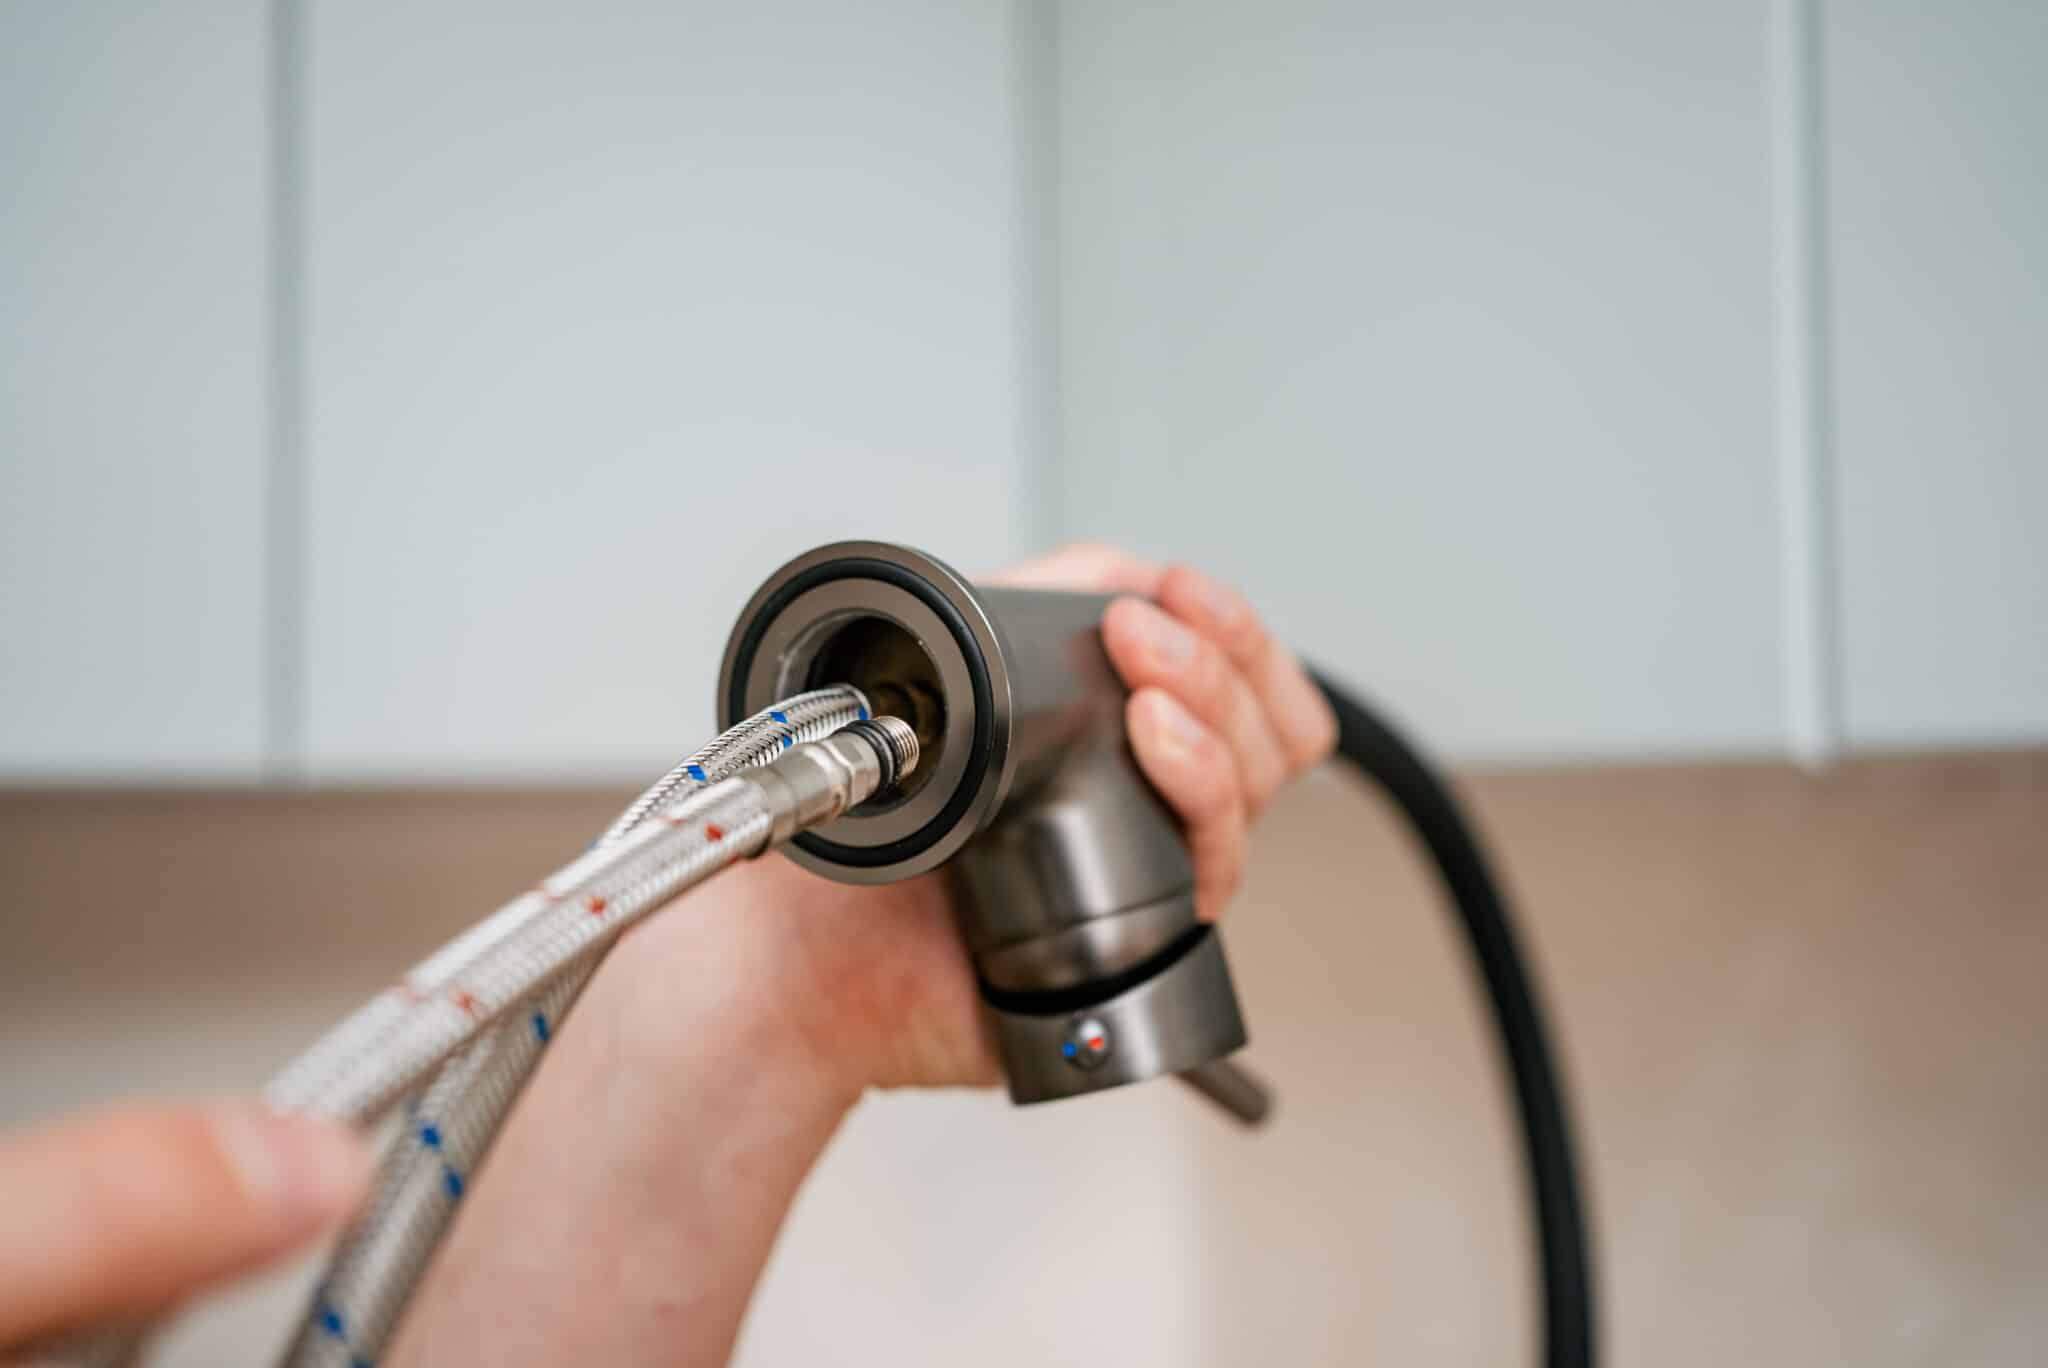
After securing the faucet, the next crucial step in faucet installation involves connecting the supply lines without leaks, a task that requires precision and patience. In Conway, SC, homeowners know the importance of ensuring these connections are tight and leak-free. By threading the supply lines by hand initially, you can avoid cross-threading, which is a common cause of leaks. Tightening them with a wrench until snug, but not overtightened, ensures a secure connection that will stand the test of time.
To enhance the seal and prevent any potential leaks, applying plumber’s tape to the threads of the supply lines is a wise move. This simple yet effective method involves wrapping the tape clockwise around the threads, which matches the direction of tightening. This ensures the tape enhances the seal rather than unravels when you connect the lines. It’s a detail that makes a significant difference in achieving a leak-free installation in Myrtle Beach, SC.
Once the supply lines are connected, the next step is to gently turn the water supply back on. This action should be done slowly to gradually introduce water pressure to the new faucet and connections. Observing the connections for any signs of leaks during this process is crucial. A leak-free connection at this stage signifies a successful faucet installation, bringing you one step closer to a fully functional kitchen or bathroom.
Finally, conducting a thorough check of all connections with a dry paper towel helps identify any minor leaks that might not be immediately visible. If the towel picks up any moisture, tightening the connections slightly more might be necessary. Once you confirm all connections are dry and secure, you can rest assured your faucet installation is complete and leak-free. This meticulous approach ensures your new faucet operates flawlessly, providing peace of mind and satisfaction in your home improvement project.
Sealing Techniques for a Watertight Fit
Ensuring a watertight fit during faucet installation is essential for preventing leaks. In Myrtle Beach, SC, homeowners can achieve this by using the right sealing techniques. Applying plumber’s putty or silicone sealant around the base of the faucet before setting it in place creates a strong seal. This step is crucial for keeping water from leaking under the sink.
Another effective method involves wrapping plumber’s tape around the threads of the water supply lines. This tape, when applied correctly, fills in any gaps between the threads, preventing water from seeping through. It’s important to wrap the tape clockwise so it doesn’t unravel when you tighten the connections. This simple technique greatly enhances the seal and contributes to a successful faucet installation.
In addition to these methods, checking the rubber washers or O-rings that come with the new faucet is important. These components are designed to provide a tight seal between the faucet and the sink. If they’re damaged or missing, water can leak at the base of the faucet. Replacing them before completing the installation ensures a leak-free connection, safeguarding your home in Conway, SC, against water damage.
Finally, after the faucet is installed, running water through it and checking for any leaks around the seals is advisable. This step should not be rushed, take your time to inspect every connection thoroughly. If any leaks are detected, tightening the connections or applying additional sealant may be necessary. By following these sealing techniques, homeowners can enjoy a durable and leak-free faucet installation.
Post-Installation Testing for Drip-Free Performance
After completing the faucet installation, it’s crucial to conduct thorough post-installation testing to ensure everything functions without leaks. Start by slowly turning on the water supply, allowing the system to pressurize gradually. This careful approach helps avoid any sudden pressure spikes that could compromise the newly installed connections. Observing the faucet and connections for any immediate signs of leaks during this initial phase is essential for Myrtle Beach, SC, homeowners aiming for a flawless setup.
Next, inspect each connection point closely, using a dry paper towel to detect any moisture. Even the smallest damp spot can indicate a slow leak, which, if left unaddressed, could lead to bigger issues down the line. Paying attention to details and ensuring every joint is dry confirms the integrity of the installation. Residents in Conway, SC, understand the importance of this step in safeguarding their homes against water damage.
After confirming the connections are secure and dry, it’s time to test the faucet’s functionality. Turn it on and off several times, checking both the hot and cold water settings. This not only verifies the proper operation of the faucet but also ensures that the seals hold under different temperatures and pressures. It’s a simple yet effective way to ensure the installation meets the high standards expected in Myrtle Beach, SC.
Finally, monitor the faucet and its connections over the next few days for any signs of drips or leaks. Sometimes, issues may not be immediately apparent, but they can become noticeable with regular use. Should any leaks develop, addressing them promptly will prevent water damage and maintain the faucet’s performance. This vigilant approach completes the faucet installation process, leaving homeowners with peace of mind and a fully functional, leak-free faucet.
Maintenance Tips to Prolong Faucet Life
After a successful faucet installation, it’s important to focus on maintenance to ensure your faucet continues to operate efficiently. Regularly cleaning the faucet can prevent mineral buildup, which is common in areas like Myrtle Beach, SC, due to hard water. A simple mixture of vinegar and water works well for this task. By keeping the faucet clean, you not only maintain its appearance but also ensure its longevity.
Inspecting your faucet for wear and tear periodically can save you from unexpected problems. In Conway, SC, checking the O-rings and washers for signs of deterioration is a good practice. These parts can wear out over time, leading to leaks. Replacing them promptly can prevent minor issues from turning into major leaks.
Another tip is to avoid over-tightening the faucet’s components during use or maintenance. Applying too much force can damage the faucet’s internal mechanisms, leading to leaks or impaired functionality. Instead, operate the handles gently and make adjustments with care. This approach helps preserve the integrity of the faucet’s parts.
Finally, educating all household members about proper faucet use contributes to its upkeep. Ensuring that everyone understands not to force the handles or use the faucet as a support can prevent accidental damage. Regular reminders can go a long way in extending the life of your faucet, keeping it functioning smoothly for years to come.
 Your Privacy Choices