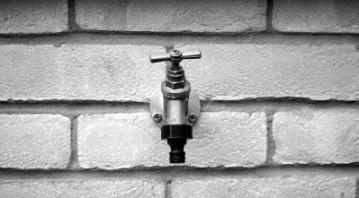
Leaky outdoor faucets are not only annoying, but they can also lead to significant water wastage and increased utility bills. With a little knowledge and some basic tools, you can easily detect and fix these leaks, ensuring that your outdoor plumbing is functioning efficiently. In this blog post, we will guide you through the process of identifying and repairing leaky outdoor faucets, helping you conserve water and save money in the process.

Detecting a Leaky Outdoor Faucet:
- Visual Inspection: The obvious way to visually check for a leak is by visible water dripping from the Spigot itself. Make sure that the valve is completely shut before continuing the inspection process.
- Meter Test: Check your property for your water meter, once located, you can remove the lid safely and carefully. After that, the meter will have a dial on it, if the dial is moving and all valves and faucets are off. You may have a leak.
Understanding the Causes of Outdoor Faucet Leaks:
- Loose Connections: It is common to have a loose connection over time with any plumbing fitting. The way to tighten these is by grabbing an adjustable wrench and turning clockwise, as this will tighten the connection.
- Worn-out washers or O-rings: Washers are on the end of each valve stem, and O-rings are what tighten the connection when closing the valve. These can get worn out over time from use and age and are fixes that can sometimes require a professional.
Dealing with leaky outdoor faucets doesn't have to be a daunting task. By following this blog post, you can easily detect and fix these leaks, saving water, and reducing your utility bills. Remember, if you ever feel unsure or need assistance, don't hesitate to reach out to our team of experts at Benjamin Franklin Plumbing of Marietta. We are here to help you keep your outdoor plumbing in optimal condition!
