


Connect With Benjamin Franklin Plumbing® of Doylestown
*All fields are required*
Worry-free plumbing from our

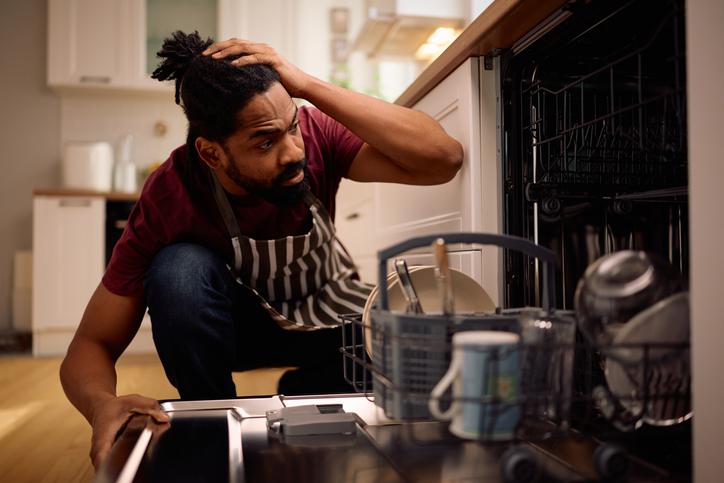
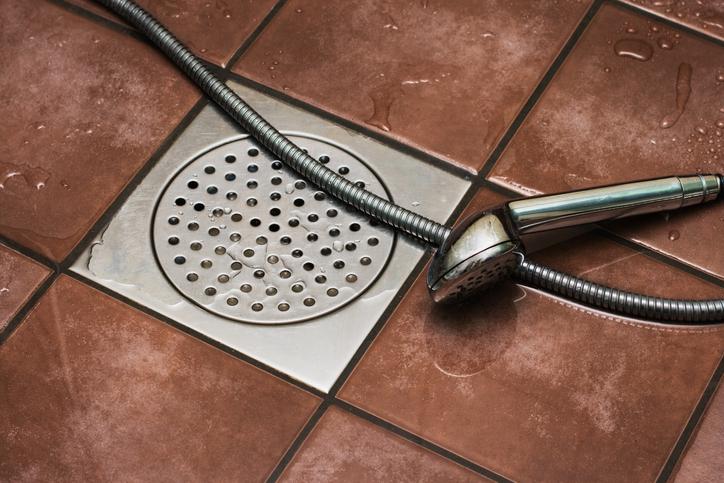
Have you ever woken up on a chilly Pennsylvania morning, stepped into the shower expecting a warm embrace of steam, only to be greeted by an icy blast of water? Or perhaps you’ve finished a wonderful family dinner, only to find that your kitchen sink has decided to become a permanent pool of murky water? These plumbing frustrations are more than just minor inconveniences. Issues like leaky pipes, chronically clogged drains, or failing water heaters can make daily routines, work-from-home schedules, and hosting holiday guests feel ten times harder than they need to be. When your home’s infrastructure isn't cooperating, your peace of mind is the first thing to go.
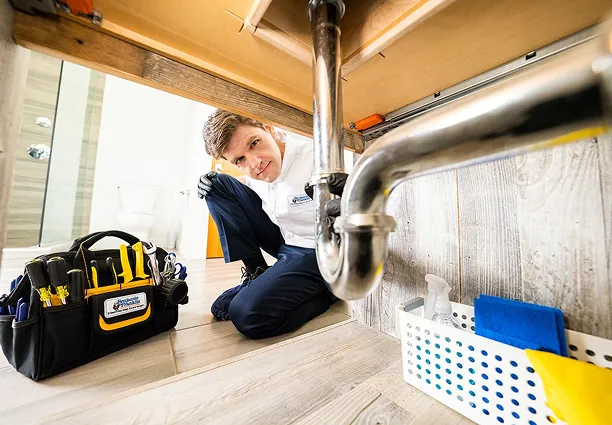
Fortunately, you don’t have to let plumbing mishaps disturb your sanctuary for long. At Benjamin Franklin Plumbing® of Doylestown, our expert plumbers are ready to jump into action. For over three decades, we have been the trusted name for quality plumbing services in Doylestown, PA, providing a full spectrum of repair, installation, and maintenance solutions. We understand that your time is the most valuable commodity you have, which is why we emphasize a strict commitment to punctuality and safety above all else. Whether it is a midnight emergency or a scheduled upgrade, we bring decades of local expertise to every doorstep.
Don't let a drip turn into a flood; request an estimate or book your service with our Doylestown team today and experience the difference that professional care makes.
Sometimes, a plumbing issue is as obvious as a geyser in the front yard. Other times, the signs are subtle, whispering that trouble is brewing beneath your floorboards or behind your walls. Knowing when to call a professional plumber in Doylestown, PA can save you thousands of dollars in water damage and high utility bills.
If you notice any of the following signs, it’s time to reach out for professional plumbing repair:
At Benjamin Franklin Plumbing®, we don't believe in "band-aid" fixes. We believe in providing comprehensive, long-term solutions that stand the test of time. Our approach to plumbing repair in Doylestown, PA, is governed by our "Big Ben" standards, a set of rigorous quality controls that ensure every nut is tightened and every seal is perfect.
Our elite level of local expertise means we understand the specific challenges Doylestown homeowners face, from the aging iron pipes in historic borough homes to the complex septic and well systems in more rural areas. When you call us for a water line replacement or a complex sewer line repair, we utilize state-of-the-art technology. This includes sewer camera inspections that allow us to see exactly what is happening underground without unnecessary digging.
We treat your home with the respect it deserves. Our plumbers wear shoe covers and clean up their workspace entirely before leaving. When we handle your water leak detection or pipe repair, we aren't just fixing a house; we are restoring the safety and comfort of your family’s environment.
While we are masters of the "fix," we are also champions of the "upgrade." Modern plumbing technology has come a long way, and today’s fixtures are designed to be more efficient than ever. Investing in professional plumbing services for installations can actually put money back in your pocket.
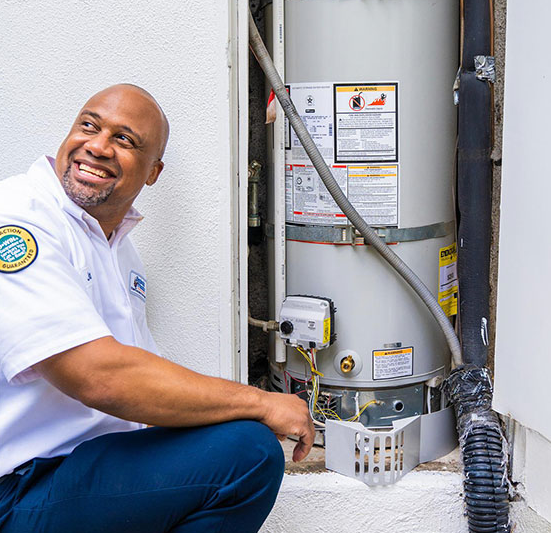
The water heater is the unsung hero of the home. If your unit is over 10 years old, it is likely working harder and consuming more energy than necessary. We offer:
The most cost-effective plumbing repair is the one you never have to make. Our maintenance programs include thorough inspections of your entire system. By identifying a small hairline crack during a routine check, we can perform a water line replacement on a scheduled Tuesday, rather than responding to a catastrophic burst on a Sunday night. Regular drain cleaning and water heater flushing prevent the buildup of sediment and debris that lead to premature system failure.
The plumbers were very courteous. They were timely and respectful. They to took care of my issue quickly.
Submitted a request for my water heater to be repaired this morning in Metairie. These guys got back to me right away and also did great work. Professional and courteous. Would recommend
Great customer service.!! Very good people highly recommend this company here in the Baytown area plumbing issues you know who to call..!!
The plumber was very nice and helpful, and Nathan did a great job at explaning pricing and financing options. They also arrived early which was awesome!
Trustworthy and punctual. Will only use them and no other company. They show up on time and get the job done!
The team of Cody and Nate are amazing. Very responsive and thorough.
Benjamin Franklin Plumbing is my go-to for any plumbing need. I have utilized their services several times, and each time the experience has been excellent. Jacob is very professional, knowledgable, takes the time to explain what he is doing, and answers my questions. I could not be happier with the service I have received.
Israel and team did a great, thorough job; always respectful and thorough. We’ve worked with this company for many years and have never had anything but a wonderful experience.
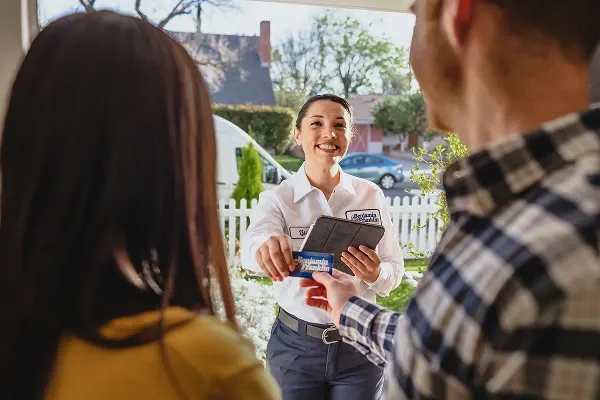
With the Benjamin Franklin Plumbing team, you get the best of both worlds—local licensed plumbers backed by a trusted national service. Because all of our locations are independently owned and operated, we live and work in the communities we serve.
As a result, our owners and their employees are more committed to providing excellent experiences and helping out our neighbors. We hire talent right from the community, boosting the local economy by keeping dollars in our own backyard. That's worth being proud of.
Mike Becht
Field Supervisor
Mike has been with our team for over 20 years!! Mike is dedicated to our plumbers that work here making sure that they are all prepared each and every day to provide our customers with the exceptional service they deserve. Mike is married to his wife Kathy, they have three grown children (2 boys/1 girl), they have one granddaughter and are expecting their second very soon!
Pat Davis
Plumber
I am a hard-working individual with a strong work ethic. I pride myself on customer service and take time to get to know those I work with and for. When I'm not at work, I enjoy spending time with my wife and two sons. I am a family man who loves spending time doing anything outdoors from hunting and fishing to snowboarding.
Carmen Moschitti
Field Supervisor
Carmen is a great part of our team and is always ready to make sure that our customers are taken care of with the "white-glove" treatment. Carmen supervises his crew each and every day to ensure that they are providing each and every customer with the respect and care that they deserve as well as providing the customer with the most exceptional service. Carmen is married to his wife Trish and they have two handsome little boys.
Coleen Mulhern
CSR Dispatch
Coleen has been with us servicing our customers for over 10 years and our customer just LOVE her. Coleen has 3 cats and is an extreme animal lover!
Valerie Klimowicz
CSR Dispatch
Valerie has been with us for just over two years and is a great team member and always strives hard to go above and beyond what the customers expectations are. Valerie is married to her husband Mike and they have two grown sons.
Frank Szogi
Plumber
I am the type of person that no matter how many times I get knocked down I pick myself back up and don’t let anything overcome me. I'm confident in my work, and go by the saying "hard work pays off". I work hard for my children who mean the world to me. As I move forward in life I only strive to do better and be the best at whatever it is that life throws at me.
George Townsend
Plumber
I started my plumbing career in 1998. I live in Langhorne PA with my family, and enjoy hiking, biking and camping. I find my passion in hobby’s having anything to do with radio-controlled vehicles as well as fishing. I believe an expert was once a beginner, but to be the master at your craft, requires a lifetime of learning and experience from those around you.
Gerarado Virgi
Plumber
My name is Jerry Virgi, first and foremost I am a family man. I always go out of my way to help out others. I am a hard working individual who never turns down a challenge. Playing with the kids is great, but nothing tops watching the Eagles on Sundays with my boys by my side, cheering on my team. Eager to experience life to the fullest, I love to travel and try new things. My best accomplishment was choosing the right person to be my wife and share my life with.
John Davies
Plumber
I have been married to my wife Connie for 23 years, we have three children, Amber, Jaylynn, and Christian (and a deceased son Anthony). I have been a plumber for 30+ years and have worked for Ben Franklin Plumbing for 8 years. In my spare time, I enjoy spending time with my family at the lake and shore campground in South Jersey, and of course enjoy riding my Harley!
Ron Sieger
Plumber
I have worked for Ben Franklin for 30+ years and enjoy being a plumber very much. I enjoy being with family and friends when I am not working and love going to Wildwood NJ and the mountains. I am also a big follower of high school sports, especially wrestling.
Joe Glasson
Plumber
Father of two, step-father of three, grandfather of eight is enough….LOL. I have been in the plumbing & heating trade for 40+ years, and have served my community for a long time in several different capacities.
Jason Oskiera
Plumber
I love to spend time with my family and take every opportunity to be with them. I am an avid professional wrestling fan. I also enjoy taking the time to be outside doing things like taking walks, running and biking.
James Morgan
Plumber
My name is James Morgan and I live in Levittown PA. I have a pet dog named Roxie and I enjoy talking sports with anyone all day.
George Alexander
Plumber
I have been an employee with Ben Franklin for 35-years now. I am married with three children and live in the Levittown area. I enjoy watching ALL of the Philadelphia sports teams, grilling, golfing and spending time with my family. My main objective in life is to get at least 20 years of retirement!!! LOL
Tim Weiss
Plumber
I am a dedicated, hardworking, loyal, honest person. I enjoy spending time with family and friends, as well as riding my motorcycle, boating, and camping at the lake. For the past 36 years, I have served my community as a volunteer firefighter.
 Your Privacy Choices
© 2026 Benjamin Franklin Franchising SPE LLC. All Rights Reserved.
Your Privacy Choices
© 2026 Benjamin Franklin Franchising SPE LLC. All Rights Reserved. 


