


Connect With Benjamin Franklin Plumbing® of Dallas
*All fields are required*
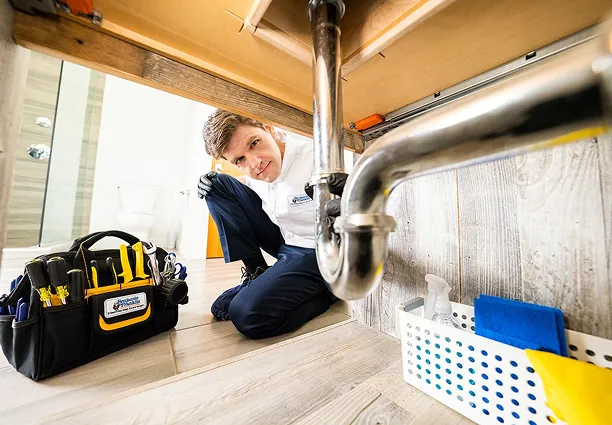
Worry-free plumbing from our

When you contact Benjamin Franklin Plumbing® of Dallas to repair your plumbing issues, you can rest assured that the job will be done professionally and promptly. Our team of Dallas plumbers provides reliable and high-quality plumbing repairs, installations, and maintenance services. Our plumbing service professionals are highly-skilled, experienced, and knowledgeable in all plumbing related projects. We want you to feel confident inviting our plumbers into your home, so our plumbers are background checked and drug tested for your peace of mind. We proudly provide plumbing repair services to residents in Dallas, Richardson, Plano, McKinney, Frisco, Carrollton, Flower Mound, and the surrounding areas in Texas.
Book online today!
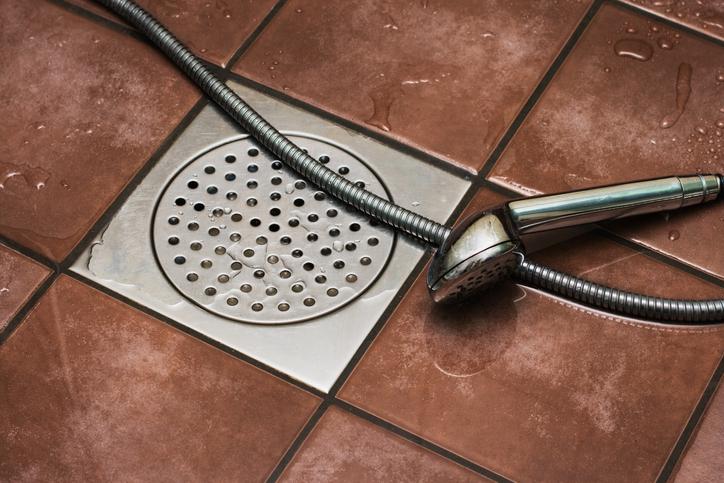
Mixit valve was leaking 30-40 drips per minute and needed replaced, was probably original with the house built in 1983. Ben showed up and saved my family and I a large water bill as we were about to leave on a trip. He was done within a few hours and was kind enough to match the fixtures on the sink and even though had a new shower nozzle, he kindly installed the older one that is preferred by my family. He was very professional, explained all his work and cleaned up better than he found the work site. Ben is an excellent service provider and I hope he is awarded a holiday bonus for the exceptional work done.
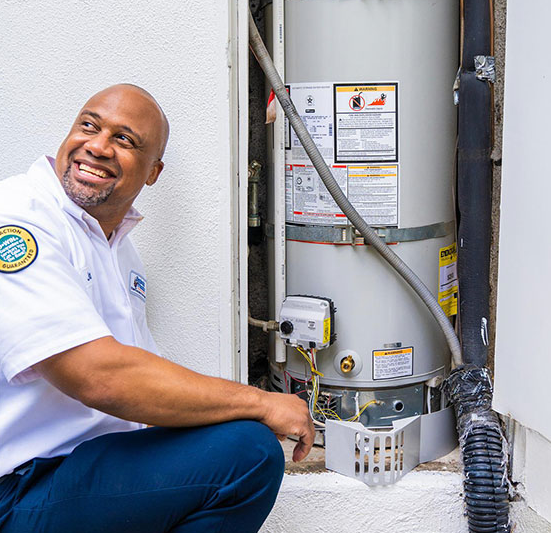
I recently had my water heater replaced, and I cannot say enough great things about James Peden and the team at Benjamin Franklin. From the very beginning, James absolutely knew his craft inside and out. He took the time to thoroughly explain every estimate, answer every single question I had, and make sure I fully understood all available options so I could make an informed decision without feeling pressured. That level of professionalism and patience is rare these days. What stood out even more was the respect he showed for my home. He wore booties inside to avoid tracking in dirt and treated my property like it was his own. That attention to detail speaks volumes about his character and professionalism. The installation itself was completely painless and smooth. Everything was handled efficiently, cleanly, and professionally from start to finish. If every Benjamin Franklin employee operates at the level James does, then this company is in an incredible position. And if they don’t, they should absolutely study how James works with clients because it would lead to an immediate increase in customer satisfaction across the board. You truly have an outstanding man on your team. James represents your company exceptionally well, and because of him, I would confidently recommend Benjamin Franklin to anyone needing plumbing services.
I’d give more stars if I could. We’ve been customers for more than ten years and they have always been great but this most recent service call was somehow even better. Matthew was conscientious and really listened to what the issue was. He had thoughtful ideas of how to fix the issue, not just “replace parts until something fixes the problem”. Rare these days. Almost as good was the office finding a way to get us a same-day service call the day before the ice storm hit.
Cody at Ben Franklin Plumbing did an excellent job helping us with replacements for our external faucet, and internal toilet and sink. He checked our grey water drainage to get a clearer picture of drainage issues. His hardware recommendations were well researched and opted for the 7-yr warranty on the toilet install. Previously, we accepted a BFP warranted water heater install and had excellent results. Cody said, “You let us do the warranty install, and you will never have to worry about it.” We had a great experience! We highly recommend. —Greg in Garland TX
This was an emergency outdoor spigot issue in the hard freeze. James was very pleasant and willing to explain things so that I understood. He wound up doing a bit more work than I had originally reported and I was thrilled he could fit the other work in. He was patient with me until all was in working order and promised to come back if anything was even slightly out of whack, especially with the comfort system installation – which it wasn't. I am definitely a happy customer now with my spigot shutting off and practically instant hot water out of my faucets. Pricewise, I would consider them middle-of-the-road and they guarantee their work which is essential.
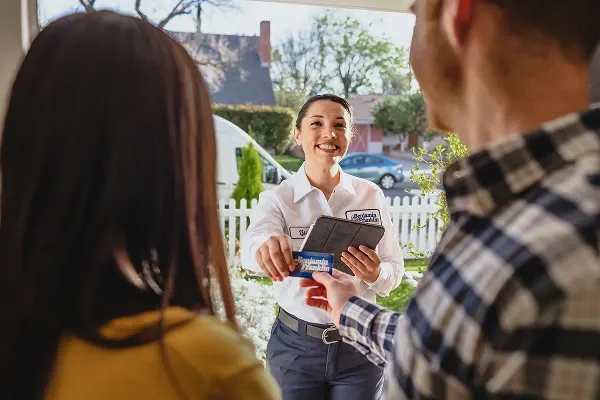
With the Benjamin Franklin Plumbing team, you get the best of both worlds—local licensed plumbers backed by a trusted national service. Because all of our locations are independently owned and operated, we live and work in the communities we serve.
As a result, our owners and their employees are more committed to providing excellent experiences and helping out our neighbors. We hire talent right from the community, boosting the local economy by keeping dollars in our own backyard. That's worth being proud of.
 Your Privacy Choices
© 2026 Benjamin Franklin Franchising SPE LLC. All Rights Reserved.
Your Privacy Choices
© 2026 Benjamin Franklin Franchising SPE LLC. All Rights Reserved. 


